Showing posts with label Foil. Show all posts

Wednesday, November 20, 2024

Be Joyful Foiling with Spellbinders


Sometimes you purchase something and don’t have enough time to really dig into it before the season is over.  Last Christmas season I bought the Joyful Glimmer Hot Foil Plate from Spellbinders, and here we are....using it for the first time.  It’s such a pretty 2 plate die combo of letters and Christmas foliage.  I foiled it in gold, added in colouring with Copics and then gave it an arched die shape.  


The foiled background uses the Layered Glimmer Holly Background Stencil and Glimmer die.  Foiled in red on deep red cardstock.  That tone on tone comes out so nice!   Next, to make the arched die really come to life I added coordinated die cut foliage from Spellbinder’s Christmas Bird Poinsettia Etched Dies.  It’s a great way to tie all the colours in together.  


A added a strip of mirrored gold cardstock the the bottom of the card to anchor the image, but it was so shiny and bright - to tone it down a little, I ran my sanding block over it horizontally and vertically, and it had the perfect amount of sheen!  

Thanks for joining me today!  

Tuesday, July 2, 2024

Family Graduation with the Greetery


We had some great celebrations going on last weekend, our older son and his girlfriend graduated with their undergrad degrees (with distinction!).  Both of them are heading to Masters studies this fall.  Today and tomorrow I’ll show you the cards I made for both of them.  Today our son’s card is up!  I’m just crazy about their Confetti Encore Suite of products!  For this design I used the Award Winning Die and the University colours (green and gold) to create this celebration ribbon.  A bit of gold shimmery paper really makes the sparkle come out in the ribbon and in the metallic stars.   The cardstock is Evergreen and Stardust from Concord & 9th.  


The background is foiled with the Ticker Tape Foil Plate and then I added the gold embossed sentiment with the Inflated Sentiments Stamp Set.   And to make it feel like even more of a party I also used the Curly Q Streamers, and some gold sequins.  


And my sweet sentimental son even told me how much he loved the card, and how happy he was to have it.  (swoon!) 

Here’s a couple of pictures of them from the day. 


Sunday, June 30, 2024

Green and Gold for a Grad Girl with The Stamp Market


Today I’m back with the second grad card this week for our son’s girlfriend.  I went with the same colours as yesterday - their University colours of green and gold, but a much more feminine style using The Stamp Market products.  This beautiful floral die set is called Big Bloom Bouquet.  Marvellous, don’t you think?  I placed the arrangement onto a mini-slimline size card that I foiled with a Spellbinders foiling die called Plaid Tidings (retired?).  


I added some ink blending and pencil colour blending on the petals and the same gorgeous shimmery gold cardstock for the flower centers.  


And it’s finished with a perfect gold foiled sentiment from The Stamp Market called Best Wishes Foil Plates and some gold sequins.  It has a very summery feel with the rich colours!

Monday, June 24, 2024

Painted Flower with Waffle Flower


Hi Again!  I’ve got something clean and simple today, embracing all that wonderful white space!  I’m using Waffle Flower’s Painted Flower Stencil and coordinating Die.  Honestly this is such an afforable combo - you can get both for under $20.  


I picked really soft colours for the stencilling/ink-blending.  One thing I did note is that you really do need to mask the other areas of the stencil as they are put together quite tightly.  It’s a really abstract flower, so you can add the interior layers a bit uniquely.  So you can see my wild flower centre placement :)  I prefer the softer of the two flowers for sure.  But variety is nice!  


A bit of gold splattering and gold enamel dots add more shimmer, and the sentiment is foiled with Spellbinders Yana’s Sentiments Glimmer.    Thanks for stopping by! 


Monday, June 17, 2024

Ginkgo Love with The Greetery


In this life I have been so very blessed to have a husband who is such a good Dad.  All the things a kid hopes for in a Father are things my beloved exemplifies, and I thank the Lord for Him!  This was my card for him for Father’s Day, it incorporates the very beautiful Ginkgo Botanicuts from The Greetery, which I picked up on their recent sale.  Did you know ginkgo symbolizes resilience, healing and longevity?  Perfect for a card for him!    


I love that these leaves can be masculine in theme.  I started with Eucalyptus cardstock from Concord & 9th and ink blended both Eucalyptus and Rainforest ink onto the leaves to given them some depth and bring out the detail veins in the die.  Then I splattered them wiht Rainforest ink and white acrylic paint.  

Next,  I placed them onto a card base cut from Pebble cardstock which I had ink blended deeper mushroom ink onto.  Its a great earthy look.  Some leaves are glued down some are popped up slightly for a great sense of dimension and texture.  


The foiled sentiment is from Spellbinders, Must-Have Sentiments Glimmer, and it’s foiled in a gunmetal silver shade.  To keep it very simple since there is some much going on with the leaves, I added a few coordinating enamel dots.  

Sunday, June 16, 2024

My Role Model with MFT


Hello!  Today I’m popping in with our kids’ Father’s Day card for their Dad.  Since he sometimes peeks at my cards, I didn’t want to post it before the day.  Our kids are beyond blessed to have a Dad who is so loving, supportive, wise, sacrifical and hardworking.  100% they know they are loved and he is proud of them.  He is a leader and a servant heart and loves the Lord.  I am so grateful for him, and I know they are too.  

So this superhero themed card and the role model sentiment were perfect for him.  I was using a new set to me from MFT called Super Human and the coordinating dies.  These little guys are so adorable!  I coloured this little guy dropping in to save the world with Copics in my husband’s favourite colour - purple.  It was his HS and College colour and he still gravitates toward it.  


The background city scene uses another MFT set (Birdie Brown - retired now). I embossed the city in silver, and ink blended the sky in purples, adding in sparkle pen for stars.  I’m also playing along with this week’s MFT Sketch Challenge.  

The foiling uses a Spellbinders Foil plate called Hypnotic (seems to be retired), and then added an interior frame with a scalloped rectangle die from MFT.  


The sentiment is embossed for more silver touches, and now it’s adorable and heart-felt!  

Friday, June 14, 2024

Award Winning Retirement with The Greetery


Hi There!  Today I’m bringing you another instalment in a seriew of cards I made for a friend to give to co-workers.  This one was designed for a man who was retiring, so I wanted it to have a bit more of a masculine feel.  I picked up my new goodies from The Greetery from their Confetti Encore Collection.  If it’s a celebration, this bundle of products is the perfect way to create great designs. 


I began with a fun colour palette (Concord & 9th Mushroom, Seaglass and Tidepool), and then went about foiling the Ticker Tape Hot Foil plate in silver on deep charcoal cardstock.  Next I added in layers of Curly Q Streamers Dies (they really make it feel like a party!), and then formed my fun Award Winning Die into a “blue ribbon” using the sentiment from the Inflated Sentiments embossed in silver for the sentiment.  Little touches like silver metallic cardstock add to the award winning feel of the design.  


I think it combines to make a really fun card that is full of celebration.  Also - perfect for masculine or feminine designs depending on the types of paper you use.  Thanks for joining the party with me!  
 

Tuesday, April 16, 2024

Two Techniques with Crafty Meraki!


Hello Crafty Meraki friends!  Today I’m back with week THREE of my Guest design posts for Crafty Meraki , and this week we’re all about techniques!  I have two designs with two different techniques but similar colour palettes to show you today.  

First up, I created a design that showcases foiling, ink blending, and a faux spotlight technique with a lovely result.  

I began by ink blending the background of white paper with Distress Oxide Inks in blues to raspberry shades in an ombre feel.  I heat set the paper and then foiled the beautiful 
Crafty Meraki Elegance Hot Foil Plate onto it with my Glimmer Machine in silver.  I foiled the image a second time on Copic XPress it Blending paper, and used that for Copic colouring part of the image.  


When my colouring was completed, I trimmed out the part of the image that I wanted to use as a type of “spotlight” of the design, where just part of the image is coloured, and attached it with foam dots.  


I also foiled the sentiment from Handmade Love.  I die cut a sparkly silver frame to add attention to the Copic coloured part of the design, which also serves to anchor that part of the card, and finally added some silver enamel dots for more shimmer and shine.  

My second card showcases embossing and watercoloring!


I have loved watercolouring for so many years, so it was high time I pulled it out again!   I began by heat embossing the lovely arrangement from the stamp set Reason to Smile onto watercolour paper with Embossing ink and a heat tool.  The raised silver embossing creates a “border” for the watercolouring to sit in which makes painting the small sections a quick process.  I used Daniel Smith watercolours for their beautiful vibrancy.  


I painted in a very soft wash of background, some paint splatter and then white acrylic paint splatter to bring some texture.  


The embossed sentiment is included in the set and I added it onto a coordinating colour of cardstock, trimmed it out and popped it up on the design with foam dots, and a few enamel dots to match.  That soft creamy white is such a lovely backdrop for the vibrant flowers!  

Thanks for joining me today!  

Tuesday, April 9, 2024

Slimline Bouquet Duo with Crafty Meraki


Hi Friends!  I’ve had such fun with today’s cards from Crafty Meraki!  This week we’re focusing on Slimline designs and I chose to work with the amazing mega stamp Birthday Bouquet, which is so big and beautiful you can create 2 mini slimlines from one stamp.  So, I have two designs to show you again today.  


I started by colouring the gorgeous florals with Copics and coloured pencils in a fun coral and purple palette, then cut the image down the middle and fussy cut the image out.  I focussed on a different colour background for each card.  For this design its all about gold and green accents.  I added a rich green background with intricate detail from the Mini Slimline Parisienne Para-Dies.  


Then to give it some glitz and glamour I added sparkly gold paper die cut with the Olive Leaf Para-Dies,  and then a bold gold foiled sentiment with Meraki Moments Hugs Hot Foil Plate and Die.  


For a little more glam, I completed the design with gold sequins.  

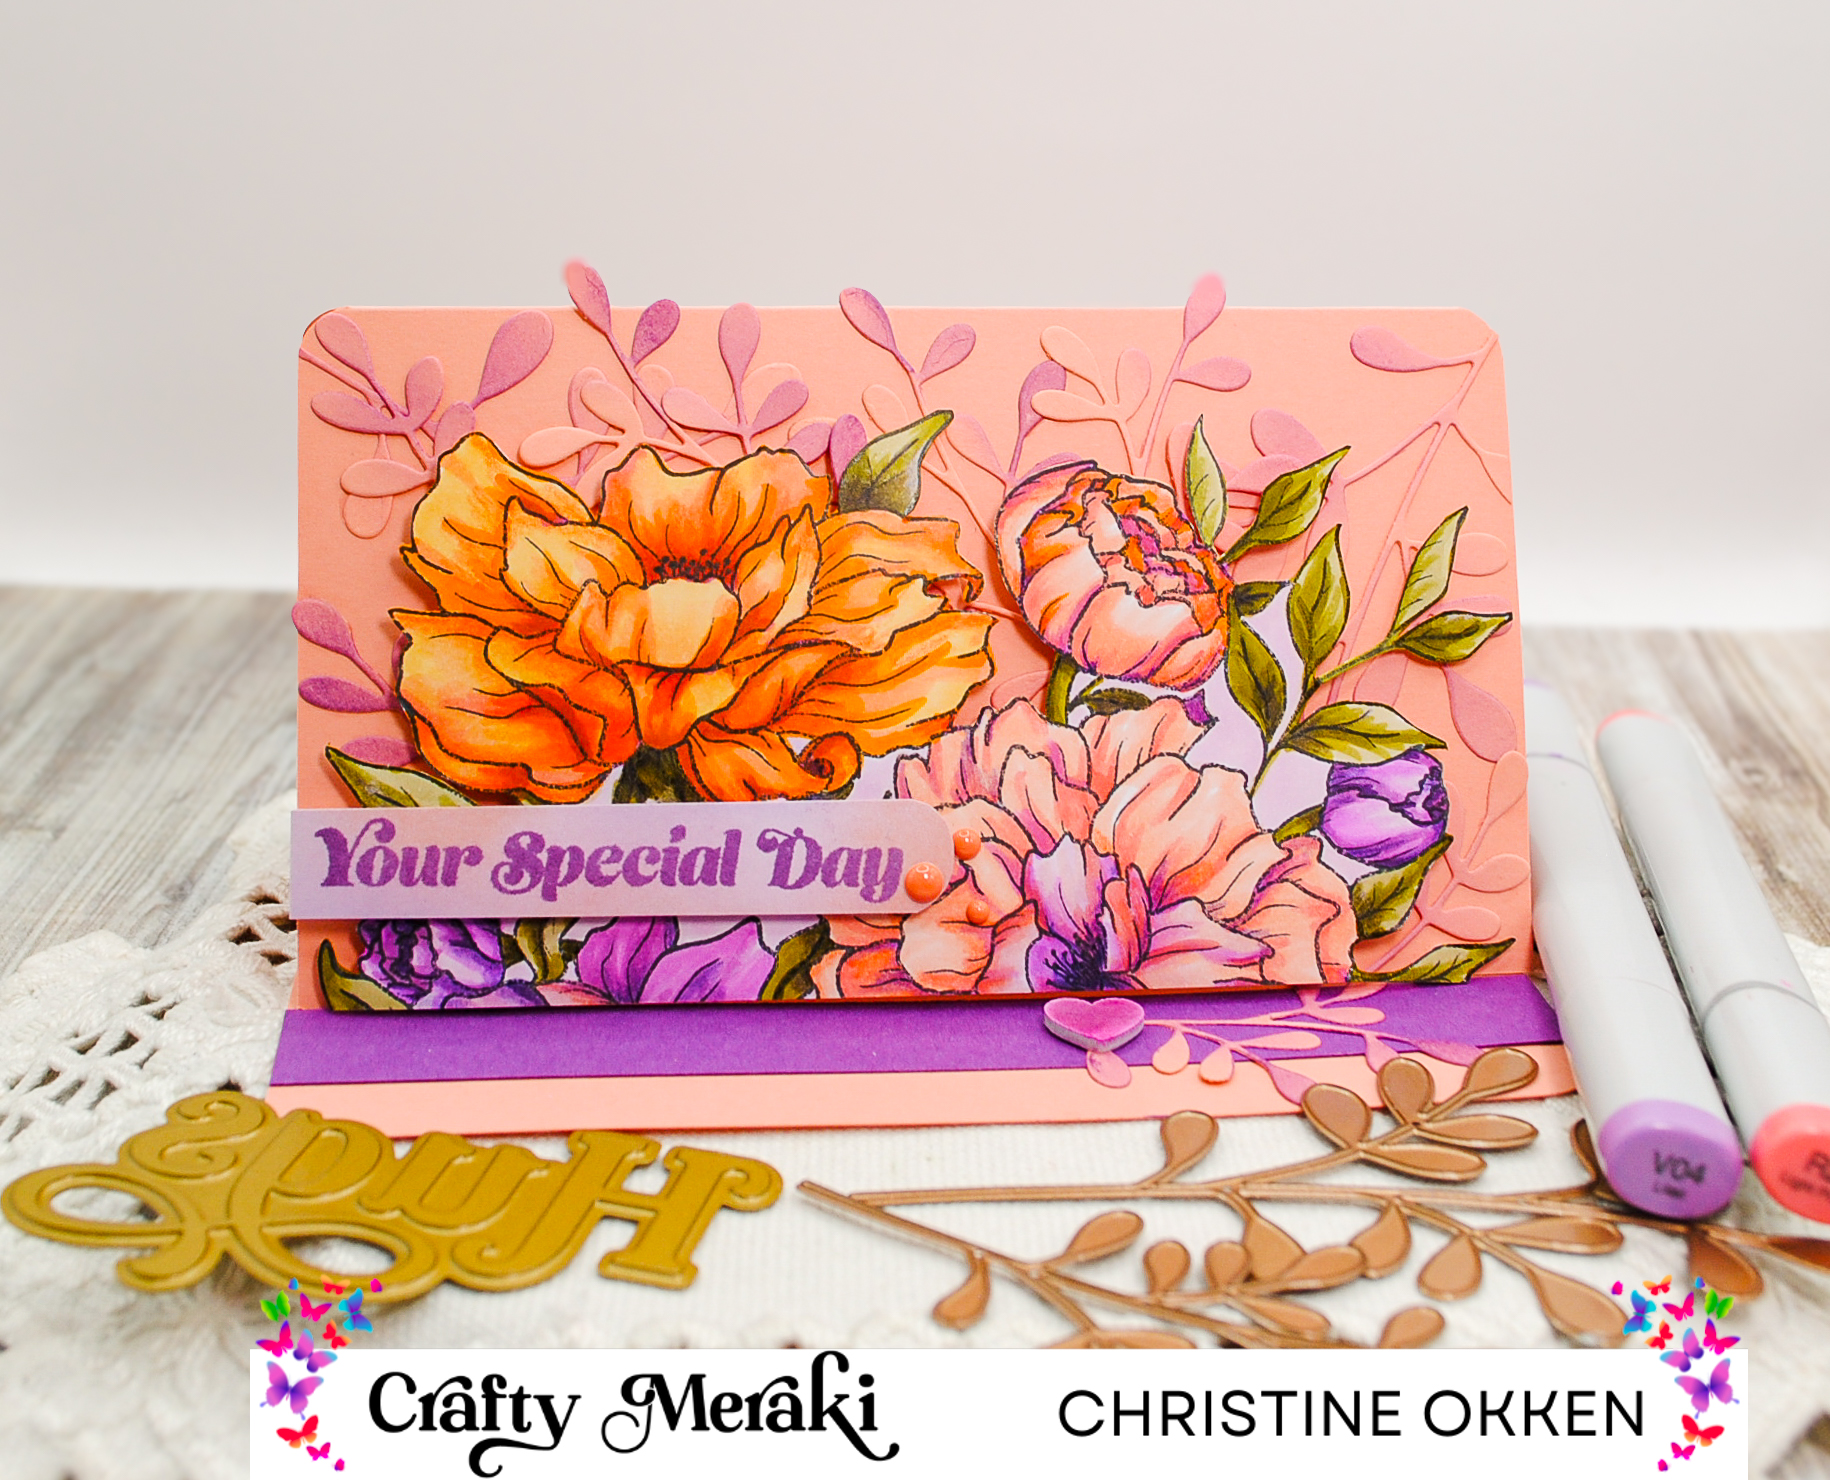
Next I created a mini-slimline easel fold with the other half of the coloured image.  


For this design I showcased the beautiful coral colour in the background.  To create the easel, I cut the cardstock to be 6 1/4 x 8 1/2, and scored on the long side of the cardstock at 3 1/2 and 7.   Then I cut a number of coral die cuts from the Olive Leaf Para-Dies, ink blending them with soft purple, then placing them throughout the card base as a backdrop for the flowers.
  

I added a sentiment from the stamp set, as well as an enamel heart to be the “stopper” for the easel.  A few enamel dots accent the sentiment.  It’s a fun explosion of colour!  

Appreciate you joining me today!  

Tuesday, April 2, 2024

Pretty in Pink Vellum with Crafty Meraki!


Hello Friend!  I’ve been keeping a sweet secret!  This month I’m a Guest Blogger on Tuesdays at Crafty Meraki!  What a joy to be creative with all the lovely products and supplies Crafty Meraki has to offer.  

Today I’ve got two designs to show you, both using vellum in fun ways more layered, and more clean and simple.  

First off, I have some pretty Peonies to show you using the beautiful Peony Crafty Meraki Peony Artisan Flora Para-Dies. Creating this card was a really fun way to showcase the transluscence of vellum.  

To create the beautifully soft petals, I used the die with vellum cardstock, running it through my die cutting machine.  Once all the pieces were cut out, I used ink and my blending brushes to give some soft pink colour to the petals, and green to the leaves and stems.  Because vellum is very non-porous, you have to leave extra time for ink on the layers to dry.  


Next I added some extra depth and colour using coloured pencils so there would be more definition in some layers, and then I carefully assembled the petals with small dabs of white craft glue onto the peonies and greenery.  Because of vellums transparence you need to be strategic on where you place the glue so it doesn’t show between your layers.  

Once I found an arrangement I liked, I placed the peonies on a bright pink and white cardstock background that I had run through my die cutting machine with the gorgeous Parisienne Mini Slimline Die
I used the die on both the pink panels and the white panel.  The pretty texture is just the right backdrop for the ethereal petals.  

 I dug deep in my ribbon stash and found a pretty folded satin ribbon that added a nice vertical and textural element to the card and attached it with ScorTape to the card base.  
After everything was pulled together, I splattered pink ink onto the card.  I finished the design with some pretty mirrorless sequins and a foiled sentiment using Crafty Meraki’s Handmade Love hot foil plate.  

Here I added pink foil to a softer pink cardstock and cut it out with the coordinating Handmade Love dies.  Very pretty in pink!  


Next up, a very clean and simple design!  


Vellum is a great type of paper for accents!  For this card I started with a white cardstock base, and then cut out matching tiny squares.  

Then, I ink blended the squares in pink using an ombre style of saturation moving from almost white at the bottom right to fully saturated pink in the top left square.  
I added these to the card base lining them up with a T square to ensure they were symetrical and the popped them up with foam squares.  


Next,  I pulled out the delicate Olive Leaf Meraki Para-Dies and ran vellum and the die through my die cutting machine.  I used a paper shim to make sure all those intricate cuts came through.  I placed the vellum leaves in a stacked arrangment on the popped up squares so the pretty colour of the ink shows through the leaves.  


Finally, I ran the Meraki Moments Hugs Hot Foil plate and die combo through my Glimmer Machine using pink foil and cut the foiled image with the coordinating die.  This layer is also popped up with foam dots, and I finished acceting with some simple and tiny enamel dots. I don’t often do Clean and Simple cards, but vellum has such delicate nature it works perfectly for this style of card.  

Thanks so much for joining me today!   

Sunday, March 10, 2024

A Rosy Trellis with Alex Syberia


I was in the mood to colour, who am I kidding, I’m always in the mood to colour....so I pulled out an image I had printed from Alex Syberia Designs digital images.  A gorgeous arrangement of roses called Sending Love Bouquet.  The design is coloured with Copics, finished with coloured pencils, and then trimmed out fussy cut style.     
 

Next we have layers of beautiful saturated and ombre ink blended Wildberry (Concord & 9th) ink and paper, with the “trellis” cut from the Plaid Cardfront Thick die from Concord & 9th.  I also used the Quilted Cardfront Die on the base layer to add additional plaid and texture.  A layer of vellum creates softness behind the flowers.  

A banner strip of cardstock run through Spellbinder’s Floral Frenzy 3D Embossing folder anchors the foiled sentiment, using Must Have Sentiments Glimmer Hot Foil.  


A few clear dew drops accent the design looking like drops of water.   Appreciate you stopping by!  


Wednesday, March 6, 2024

Frames of Flowers with Pinkfresh Studios


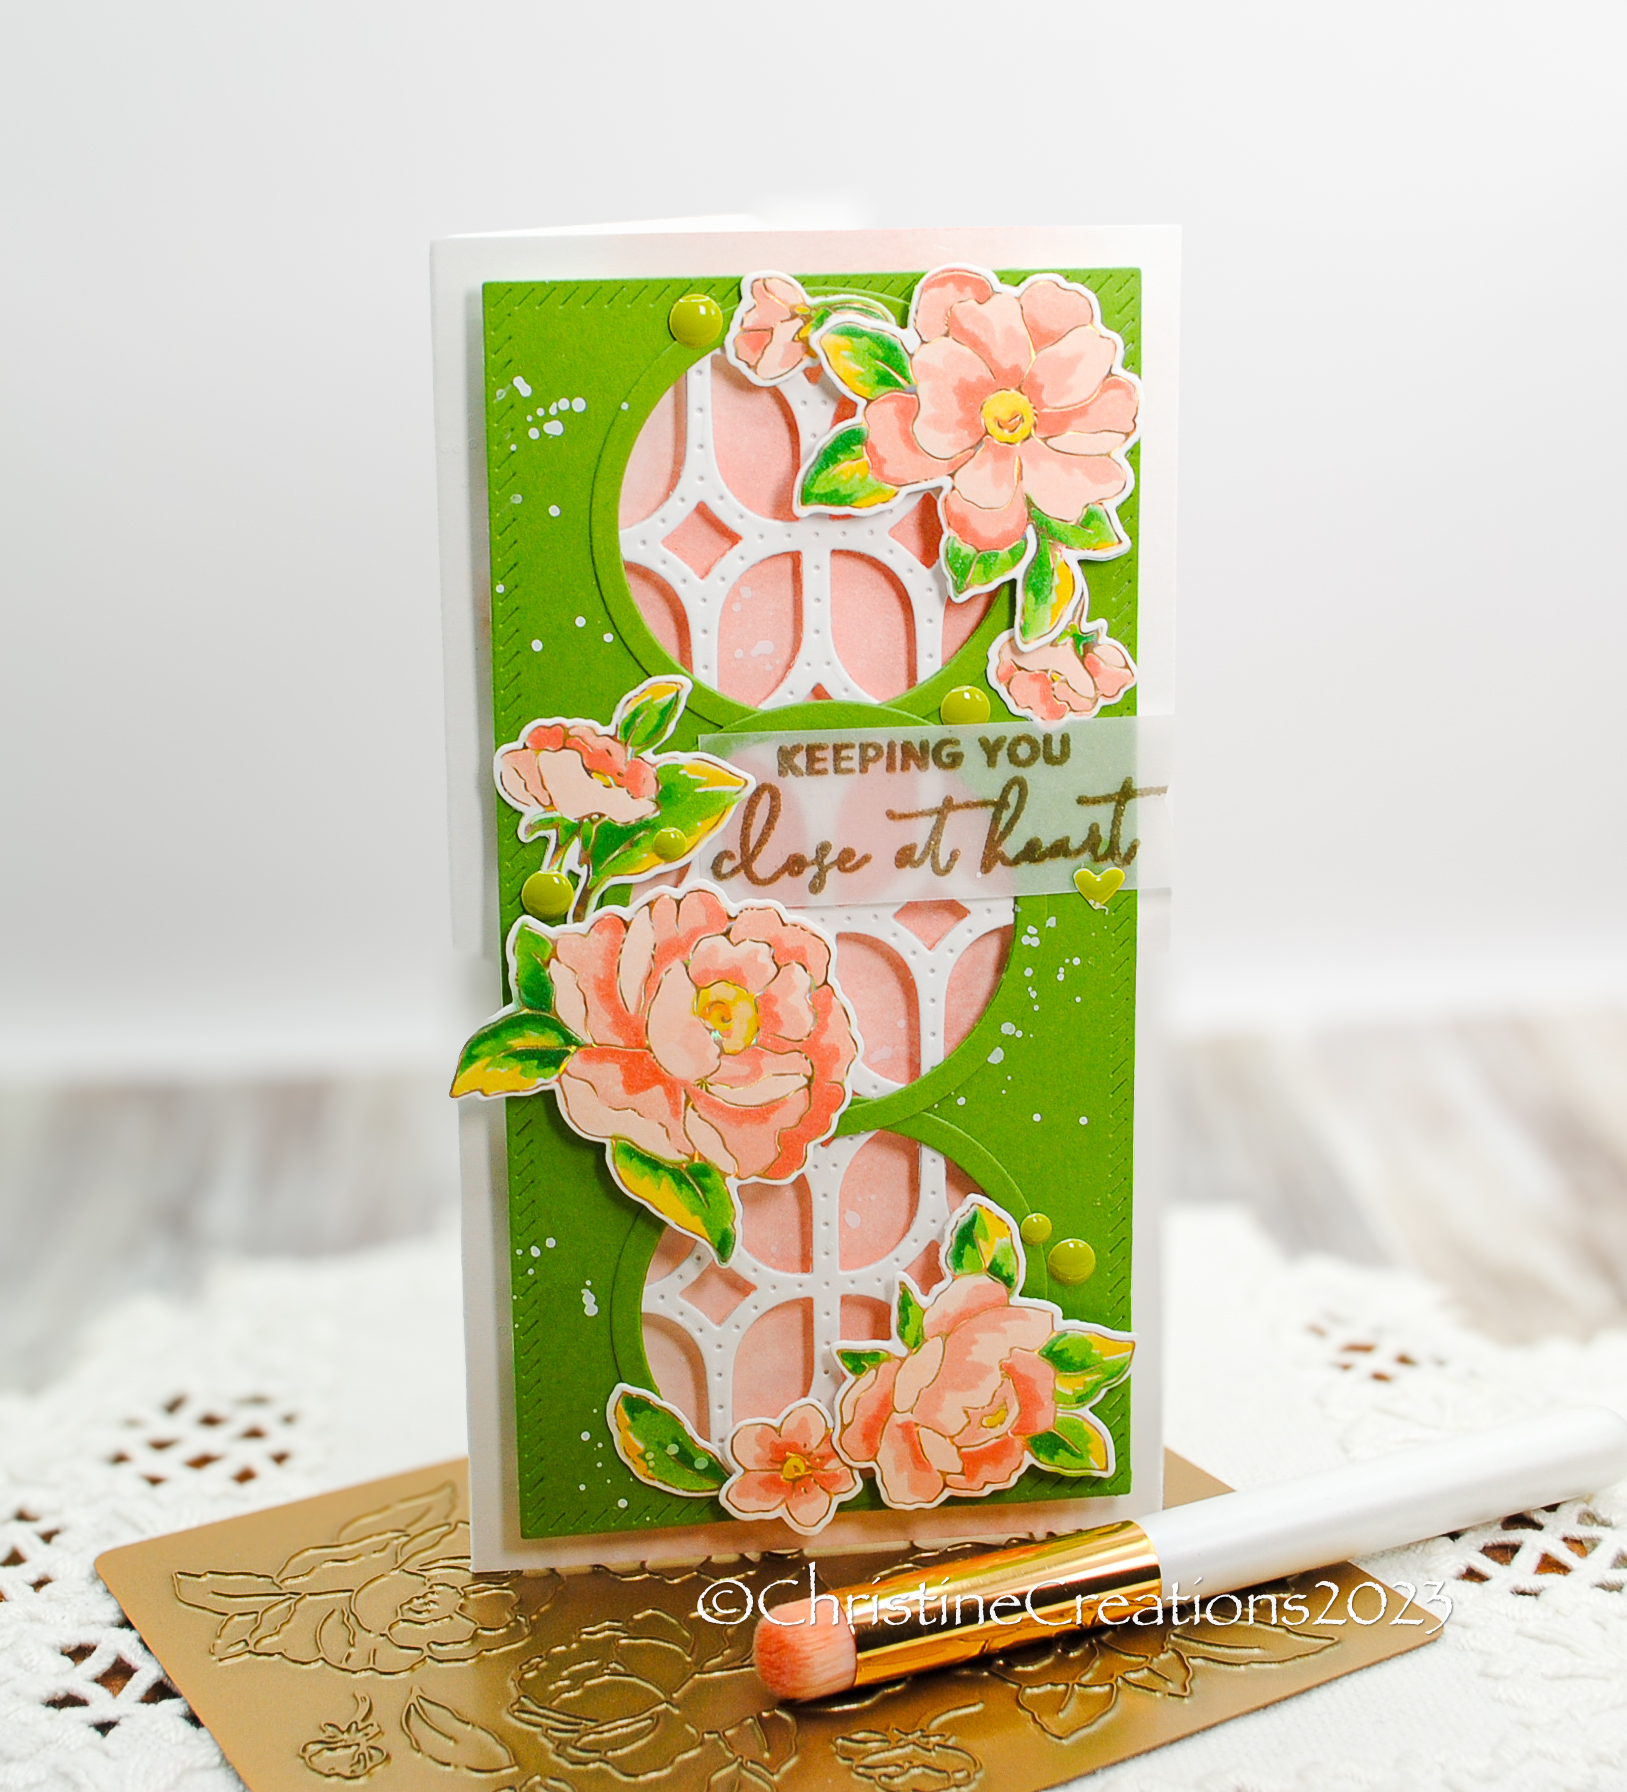
Hello!  I’m dropping in tonight with some wonderful flowers for Pinkfresh Studio’s March Challenge.  This one is showcasing frames on your design.  This beautiful set from Pinkfresh is called  Peony Fantasy and it has a floral stamp set, hot foil plate, dies and stencils.  Today I used the Peony Fantasy Hot Foil plate and the Coordinating Stencils to accent these pretty circular frames on the mini-slimline card.  


I used several Pinkfresh dies to layer the design including the outer frame and circles with Essentials Mini Slimline Die Bundle,  and to create the lattice I used Elongated Lattice Coverplate.  

The bright green is a great backdrop for the flowers, and I ink blended the card base in soft peach, to peek through the circles, and splattered white acrylic paint for some  added interest.  


The gold embossed vellum sentiment really ties in to the foiled flowers nicely.  Perfect for a friend who could use some encouragement or even a sympathy card.  Hope you’ve enjoyed the inspiration today!  

Monday, February 19, 2024

Inky Blossoms with Alex Syberia


Hello!  I hope you’ve had a great day today!  Do you ever rediscover a technique after not using it for a while?  The most recent Instagram Challenge at Simon Says Stamp is ink blending, and I’d forgotten how wonderful it is for adding colour blends, especially with emboss resist!  

I started this lovely design with Alex Syberia’s digital stamp Full Bloom (from May 2020).  Coloured up the blooms with Copics and coloured pencils.  
 

Next, I tooks the background stamp from Simon Says Stamps called Lace Heart Kaleidoscope embossed it in white and then used ink shades that coordinated with the colouring to create an ombre background.  I love the pops of colour and blends between the colours, and it makes such a nice background for the card.  I also cut a few Big Branches: Ruscus Die from The Greetery onto white cardstock to ink blend as accents.  The leaves coordinate well with the stamped design.  

I also foiled a pretty sentiment onto vellum from Spellbinders Slimline Confetti Background doing some fussy cutting to trim it out.    


Vibrant and saturated.  Just how I love my flowers!  Thanks for joining me today.