Hello! I felt like colouring something really special this week, so I pulled out an older set from Concord & 9th called Blended Petals. I chose not to use the stencil, and instead pulled out my Copics and some coloured pencils to bring it to life.
Showing posts with label Coloring. Show all posts
Wednesday, April 23, 2025
Periwinkle Blossoms with Concord & 9th
I chose to go monochrome, even adding in blues to the greenery. Then I created tone on tone texture and colour in the embossing folder, dies, and accents, including a little strip of glittery periwinkle paper.
Love how it turned out! I’m eagerly anticipating flowers this Summer...maybe not periwinkle coloured...but beautiful regardless!
Sunday, June 16, 2024
My Role Model with MFT
Hello! Today I’m popping in with our kids’ Father’s Day card for their Dad. Since he sometimes peeks at my cards, I didn’t want to post it before the day. Our kids are beyond blessed to have a Dad who is so loving, supportive, wise, sacrifical and hardworking. 100% they know they are loved and he is proud of them. He is a leader and a servant heart and loves the Lord. I am so grateful for him, and I know they are too.
So this superhero themed card and the role model sentiment were perfect for him. I was using a new set to me from MFT called Super Human and the coordinating dies. These little guys are so adorable! I coloured this little guy dropping in to save the world with Copics in my husband’s favourite colour - purple. It was his HS and College colour and he still gravitates toward it.
The background city scene uses another MFT set (Birdie Brown - retired now). I embossed the city in silver, and ink blended the sky in purples, adding in sparkle pen for stars. I’m also playing along with this week’s MFT Sketch Challenge.
The foiling uses a Spellbinders Foil plate called Hypnotic (seems to be retired), and then added an interior frame with a scalloped rectangle die from MFT.
The sentiment is embossed for more silver touches, and now it’s adorable and heart-felt!
Tuesday, April 9, 2024
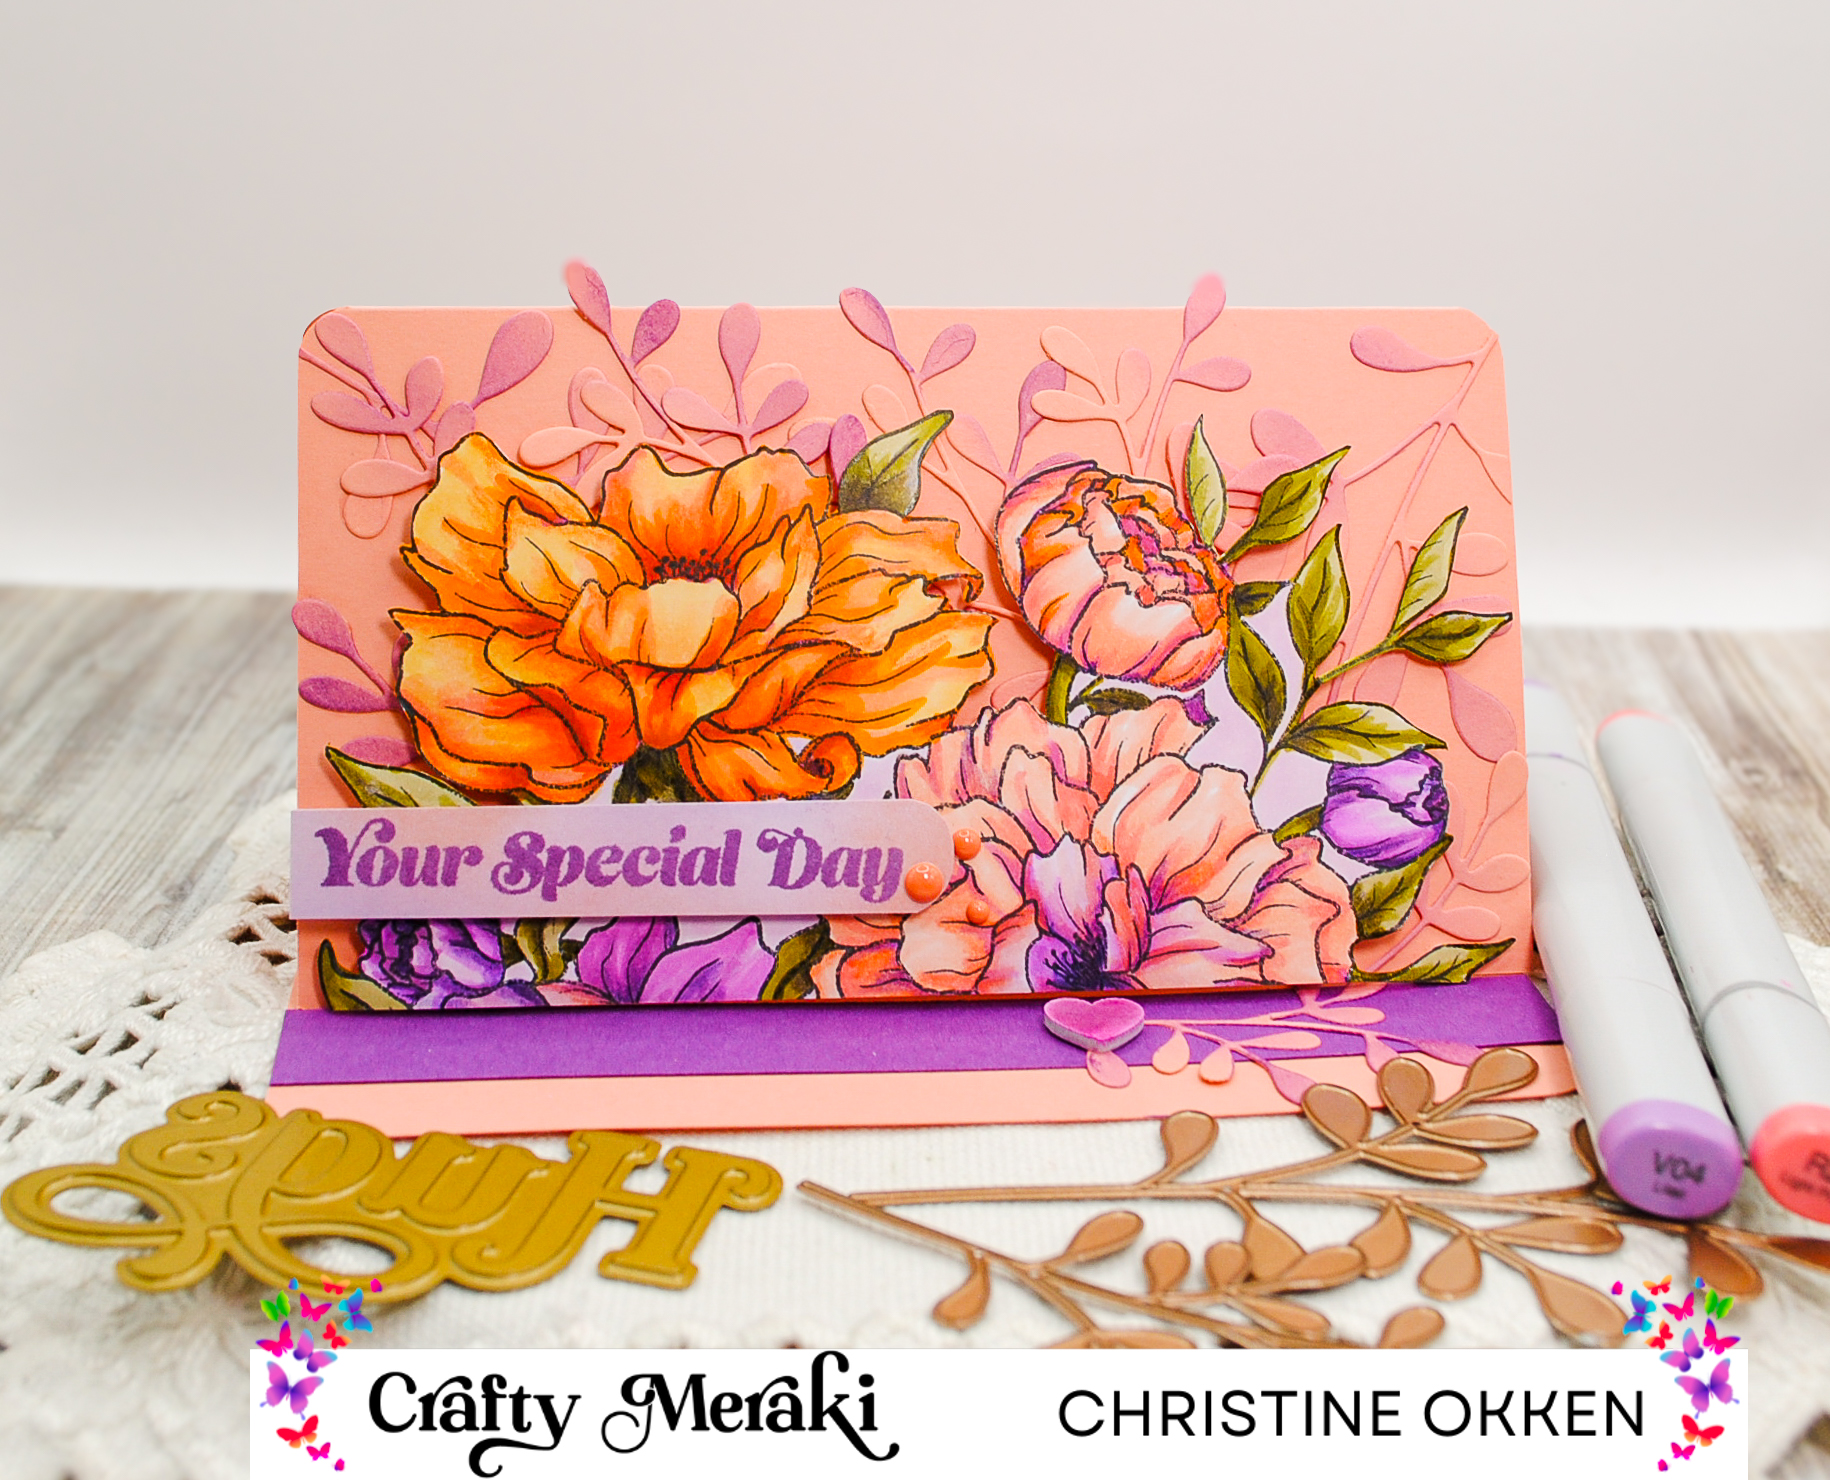
Slimline Bouquet Duo with Crafty Meraki
Hi Friends! I’ve had such fun with today’s cards from Crafty Meraki! This week we’re focusing on Slimline designs and I chose to work with the amazing mega stamp Birthday Bouquet, which is so big and beautiful you can create 2 mini slimlines from one stamp. So, I have two designs to show you again today.
I started by colouring the gorgeous florals with Copics and coloured pencils in a fun coral and purple palette, then cut the image down the middle and fussy cut the image out. I focussed on a different colour background for each card. For this design its all about gold and green accents. I added a rich green background with intricate detail from the Mini Slimline Parisienne Para-Dies.
Then to give it some glitz and glamour I added sparkly gold paper die cut with the Olive Leaf Para-Dies, and then a bold gold foiled sentiment with Meraki Moments Hugs Hot Foil Plate and Die.
For a little more glam, I completed the design with gold sequins.
Next I created a mini-slimline easel fold with the other half of the coloured image.
For this design I showcased the beautiful coral colour in the background. To create the easel, I cut the cardstock to be 6 1/4 x 8 1/2, and scored on the long side of the cardstock at 3 1/2 and 7. Then I cut a number of coral die cuts from the Olive Leaf Para-Dies, ink blending them with soft purple, then placing them throughout the card base as a backdrop for the flowers.
I added a sentiment from the stamp set, as well as an enamel heart to be the “stopper” for the easel. A few enamel dots accent the sentiment. It’s a fun explosion of colour!
Appreciate you joining me today!
Sunday, February 11, 2024
Red Dragon Flyby with MFT
Its the year of the Dragon in the Lunar New Year and it’s always fun to break out the rich reds, so today I’m playing along with the Lunar New Year Challenge on Instagram, and MFT’s weekly Sketch Challenge.
I found a not so scary dragon from MFT called Magical Dragons to colour up with warm Copics in reds and oranges.
The sketch is a really interesting one with an arched element and a radiating section, so I used embossing to create the radiating rays, which adds to the feeling of layers of different reds. The detailed background uses a Pinkfresh Studios coverplate die.
A very fun dragon baby for the next Birthday!
Thursday, February 1, 2024
Hogs and Kisses with MFT
Well since tomorrow is GroundHOG’s Day, I thought a punny piggy would be in order for a card today! I’m playing along with MFT’s Sketch Challenge this week, as well as Simon Say’s Stamp Monthly Challenge with Ink Blending. I pulled an adorable set from MFT called Piggy Pebbles illustrated by Stacey Yacula, stamped a number of images in the set and coloured them with Copics.
I took inspiration from the rainbow of colours in the umbrella for the ink blended background that mimics a grass to sky background with a little misty rain falling, and then lined up the images to match the sketch. The clouds in the centre panel are created with the Cloudy Double Card Front Die from Concord & 9th. It ties in perfectly!
It’s perfect for a Valentine card, or a kid's birthday, lots of cute “Hog" themed possibilities!
Monday, January 15, 2024
Cupids Forever with TCP!
Well hi again! I’m back today with an adorable design for Valentine’s or a Wedding that I think you’ll love! It’s got so much classic vintage Valentine flair! It’s new from TCP this month and is called Cupids Forever. I think they are just adorable.
I started with some Copic colouring in peachy shades with a nod to Pantone’s 2024 Colour of the year this year “Peach Fuzz”. I happen to LOVE peachy shades, so you might see more of these glowing peach colours ahead! Each image was fussy cut out, and then placed on a mini slimline design with retired TCP dies to be vintage “windows” for each of them.
I’ve added some little hearts as accent between the cupids. I chose not to add a sentiment because then it is open for use for Valentine’s and for a wedding. To make it a bit more vintage I added some pretty crochet lace. There are so many more cute cupids in this set too!
Aren’t they all just precious! Thanks for joining me today.
Sunday, January 14, 2024
Really Rosy with MFT
Hello friends! I’m popping in today with a pretty floral from My Favorite Things. This week I’m playing along with their Colour Challenge (of light and medium pink, red and lime green) and Sketch Challenge, with this lovely image called Fresh Cut Flowers, that has since been retired. It’s got some really nice big petals to get into! I started with Copics and finished with pencils to give more definition and soften the transitions nicely.
The sketch called for a centre circle, which I cut out with an MFT Scalloped Edge Circle die. Peeking through the background on the cardbase is ink blended base with some texture from an embossing plate.
The pretty sentiment is from MFT’s Everyday Scripted Greetings. It’s a great scripty handwriting sentiment set.
Appreciate you dropping by!
Thursday, January 11, 2024
My Flower Stand with Concord & 9th
Hello! Today I’m popping in with some more colouring using a really lovely image from Concord and 9th called Flowers A La Carte Bundle. When I purchased some paper on their sale in December I was able to get a grab bag full of goodies from them, and this was one of the sets. I’m delighted with it, as you probably wouldn’t find a flower set that I wouldn’t love.
Colouring is done with Copics for lots of vibrance, in a fun palette of Midnight, Wheat, Buttercup, Artichoke and Tidepool.
I think navy and white stripes on anything are the perfect spring pairing, so I mimicked the colouring of the awning to the background where I used the Double Stripe Card Front Die, with added strips of Midnight cardstock. Makes a great background! With the image laying on a die cut vellum layer it addes some separation between the sets of strips that allows the image to shine.
I’ve added some woodgrain to the cart, and the hello sentinment is cut 3 x and glued together to get some thickness.
Such a pretty design to play with, and perfect for our VERY cold blast that has come upon us. I can always dream of flowers! :) Thanks so much for stopping by!
Thursday, January 4, 2024
Winter Roses with Power Poppy
OO I’ve got some pretty colour for you today! I will more often lean toward a warm palette, but sometimes you’ve just got to go coooool! I pulled out this image from Power Poppy called Snowdrops and Tea Roses which is such a beauty! And though it could lean Christmas, I’m just telling myself it’s still good for Winter, especially with a Birthday sentiment.
This awesome image was coloured with Copics, and finished with coloured pencils. I can tell my copic nibs need replacing because some of my colouring is getting shiny, so finishing with pencils help tone that down a little.
It’s a gorgeous arrangement of little roses, snowdrops and holly leaves with tiny berries in a cup. So darn sweet!
I created the background with Pink Fresh Studios Slimline Diamond Builder and some Distress inks that coordinated with the colouring. Then I layered some vellum over to give it a bit more softness. Finished with some slim velvet ribbon, and tiny dew drops that look like water drops on the roses.
The sentiment is from a Power Poppy polymer set and the banner die is a retired one from The Cat’s Pajamas. Such a great colouring project to start the year!
I have a colouring video on my Instagram page for this card if you’d like to pop by! See me here at ChristineCreationsArt
Thanks for popping by today!
Thursday, November 30, 2023
Gift Card Holder Tutorial with TCP


Greetings TCP Friends! I'm here today with another new idea for the 12 Days of Crafting at The Cat’s Pajamas! If you’re like me, even though I love to give personalized gifts, there are times when you have to resort to a gift card. Have you noticed that most gift cards these days on the rack at a store come much larger, with a section that hangs on the display rack? I think this larger size is a bit better so that those gift cards don’t get lost. So, I decided to design a gift card holder that would accomdate that larger size.
I'll show you a few pictures of the process and then some more pictures of the finished tag holder.

Here you can see I’ve cut the holder from a piece of Kraft cardstock and scored it at 3 1/2, and then scored a little 1/2 inch tab. Then it’s all about the decorating, I stamped some retired TCP postage stamps in white craft ink first.

Next, I stamped some red postmarks, then added a retired TCP die cut postage frame.

I used a circle punch to cut out “ticket” half circles, and brought in the Copic coloured image from the very cute I Like Big Gifts digi set from November’s Release. I adore this cute polar bear!

Here you can see the outside holder put together and the gift card insert I created to slide inside, it’s a great place to write your greeting for the gift card, and a neat feature is that the gift card “ties” into the tag holder using the baker’s twine.

You can see that the hole you use to hang it on the gift card dispay at the store makes a great spot to tie it into your insert!

This is a close up of the Gift Card Holder put together.

And now you can see the Gift Card Holder pulled a part, and you can just see a peek of blue where the gift card is behind the tag.


All in all, a pretty sweet and easy design for those last minute gifts! Thanks for joining me for today’s episode of the 12 Days of Crafting!
Subscribe to:
Posts (Atom)