Showing posts with label Lindy’s Magical Powders. Show all posts

Monday, August 12, 2024

You’re Otterly Fintastic with TCP


How’s your Summer going?  That is, if you’re in the Northern Hemisphere.  Mine has gone far too quick for my taste!  Today I’m bringing you some delightful tastes of Summer and the Sea with August New Releases from The Cat’s Pajamas.  We’ll kick it off with another FINtastic mermaid from the Be a Mermaid set.  I just love the illustration on this set with all its wavy sketchy lines, and the creatures have such personality!  I have two fun designs to show you! 

I printed the digital stamp onto Copic XPress It Blending cardstock, and then coloured the design with Copics, then die cut it out, with the addition of a few starfish from the Doodled Shells set.  


Next, I created a background on watercolour paper using shimmery Lindy’s Magical Powders and a water stencil.  I moved the stencil several times to get the reflection of water on the paper in purply blues and teals to coordinate with my mermaid.  I also added in additional sparkle with a Jelly Roll pen on the mermaid’s hair and on her fish buddy.  


I applied the same treatment to the sentiment and added some iridescent sequins to accent and mimic the bubbles in the design.  

Next is an Otterly adorable Bendy Card design!


This little water scene utilizes a new template from TCP called the  Portrait Bendy Card Template, combined with the cutest little otters!  This set is called Otterly Amazing, and it comes in a line drawn set, as well as a SVG Cutable .  I’m always about the colouring, so I chose the line drawn otters, coloured them up with Copics.  I think they are darling!  


I fussy cut the otters and starfish, and then built the Bendy Card shape after cutting it with my Silhouette machine.  It’s very simple to put together!  I added in some turquoise paper waves with a TCP retired die, and stencilled “waves” with blue and white ink and a retired TCP Stencil.  Finshing off the colouring with some white gel pen bubbles.  These otters are perfect for this style of card because you can create a 3D scene. 


A few holeless sequins give a touch of sparkle, along with the cute sentiment.  Thanks for your visit, here’s a peek at the items I used today from the August Release.  They are TOO cute! 


Monday, August 5, 2024

Sea and Summer Fun with TCP Stamps


Beachside Slimline Scene from The Cat’s Pajamas

Hi There!  Today on the blog I’ve got some wonderful Summer cards that will soothe your soul!  And that’s because they all involve water, and they are brand new from The Cat’s Pajamas.  First off we’ll start with this Slimline beach scene with the new August set “Just Add Water”.  
I arranged the digital images into a scene and coloured the slimline scene up with Copics, with sparkly sea accents using a white Sharpie pen, and connecting lines in the scene with a black Micron pen.  My beach is definitely in the Caribbean somewhere with its beautiful coloured waters.  


I kept the details quite simple since the scene was detailed, but added the sentiment from the set which reads “Happiness Comes in Waves”.  


I’d love to be here right now!   Our next stop on the journey is under the sea with new Mermaids from The Cat’s Pajamas.  


This pretty set is called Be A Mermaid, and I’ve used just one of the mermaids that are included.  After colouring the image with Copics, I placed it windowed style with a watercolor paper frame which I had used Lindy’s Magical Powders on.  This gave me the sparkly pigmented water colour you see.  


It’s full of shimmer with the background as well as shimmery pen added to teh mermaid hair, the crab and the shell.  Even the star fish accent is coloured with Lindy’s Magical Powders.  I also added in some teal “waves” with a retired TCP die and some pretty holeless sequins to give the feeling of bubbles under the water.  


And she’s simply Mermazing!  So glad that you joined me today and I hope it sent you to a beautiful spot in your imagination.  

Here’s a peek at the new August sets I used. 


Sunday, September 10, 2023

Golden Leaves with PTI


Alright, I’m giving in that it’s ok for Autumn to come.  It is such a golden season with the changing of leaves, vibrant colours and new starts.  I pulled out a gorgeous background from Simon Says Stamps called Overlapping Dots.  To me it looks just like interlocking leaves, and it’s perfect for embossing, and using resist techniques.  


I used some jewel and autumn toned Lindy’s Magical Pigment Powders  and spritzed lots of water to create this gorgeous rich coloured background.  Then I used the same powders to also run through some leaf die cuts to accent this beautiful embossed verse from PaperTrey Ink called Psalm Reflections:  March Mini.  

Then I went a little crazy with gold splatter....I think I’d dial that down if I could now!  


Thanks for enjoying the beautiful colours of fall with me! 

Wednesday, May 24, 2023

The Perfect Shape Cards


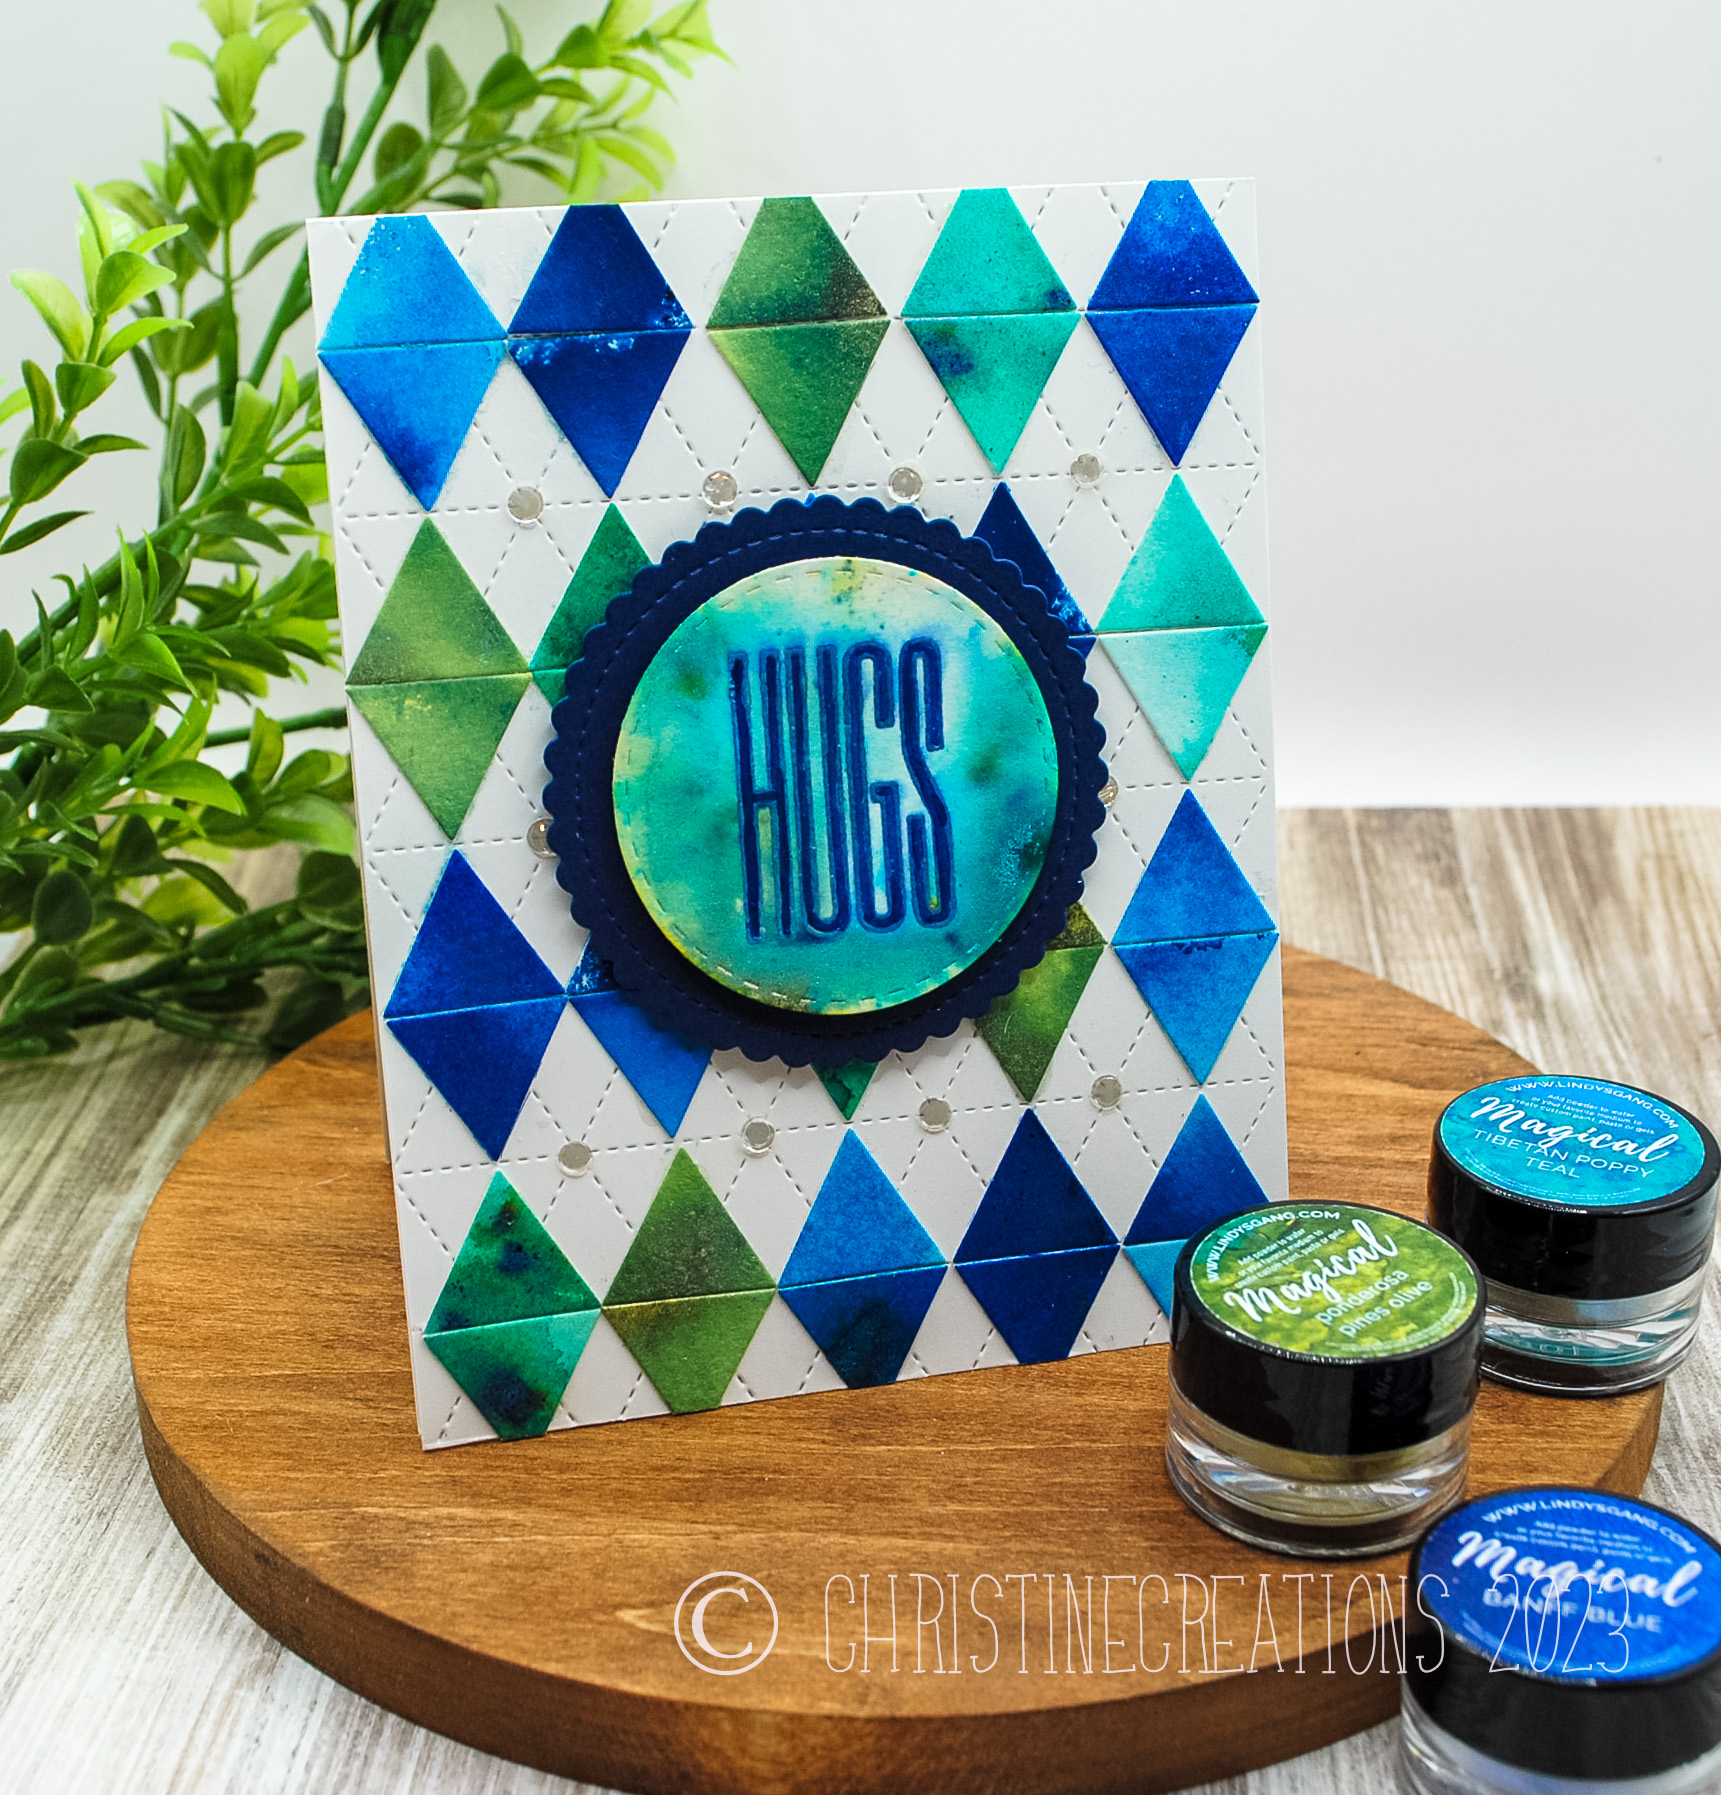
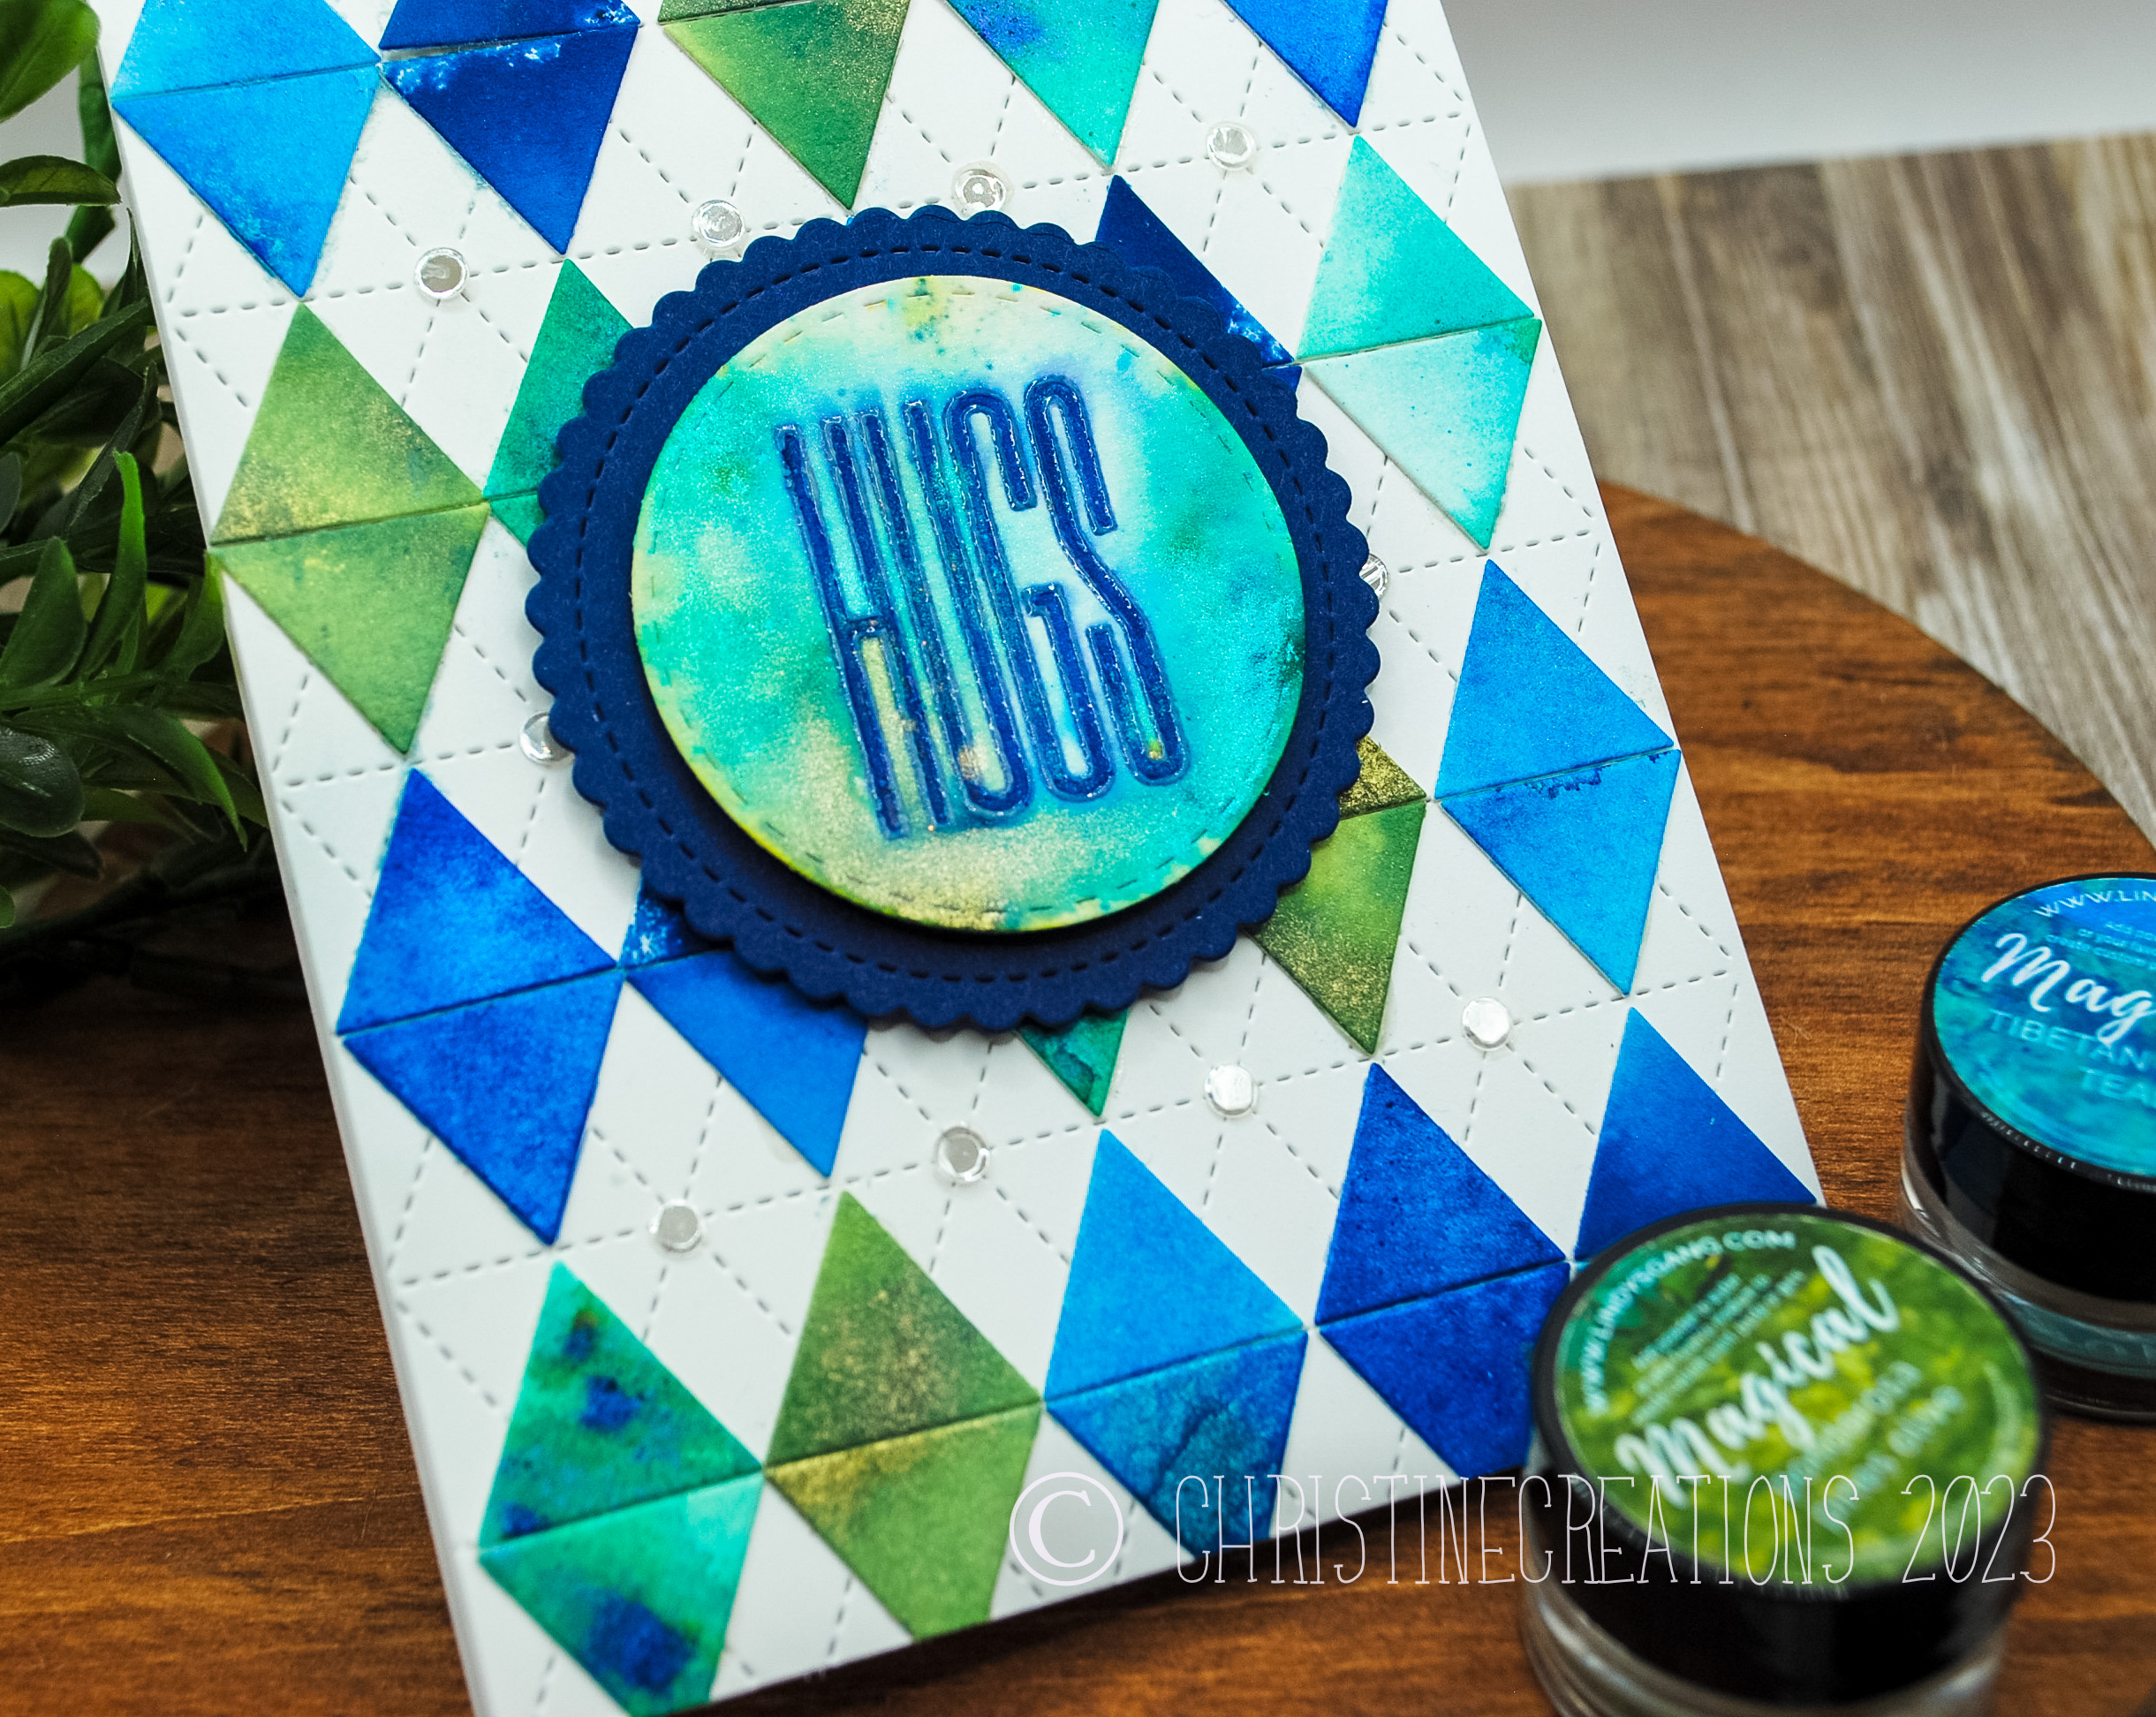
I’ve had such a good time playing with new products from Concord and 9th this week!  I ordered the Triangle Background Dies and got really inky!  There are a ton of ways you could use this die, but I started by creating some backgrounds on watercolour paper with Lindy’s Magical Powders.  Once they were dry, I used the smaller triangle dies to cut out all sorts of triangles, and began to create patterns on the die cut triangle background.  Today I’m showing you two cards, but I have about 4 others to show you at another date.  

What I just love about Lindy’s Magical Powders is that many of them create shimmery effects, and because many of the pigment powders have other colours in them, you get all sorts of unique effects once they’re spritzed with water.  For this card I went with an argyle pattern, off-setting the triangles slightly so the background shows through.  


You can see more of that shimmery effect here.  I added holeless sequins as accent and the sentiment is embossed and coloured from Studio Katia.  


On this design I lined up the triangles in the background pattern, and added the embossed Essential Sentiments from MFT, as well as some sparkly enamel dots.  

I love the great effects of the colours and patterns.  Triangles are the perfect shape!  


Wednesday, May 10, 2023

Foiling Flower Garden


I did a fun thing!  I (finally) got a foiling system!  How long have they been around?  I don’t know, I’m never an early adopter on big purchases, but I got the Spellbinder’s Glimmer system on sale and have been experimenting with adding letterpressed shine to all the things!  

As this was my first go with the machine, I used the freebie plate that came with the machine and dolled it up a little.  Oh those gold debossed lines are so classy!  


I used the plate twice to give me double the flowers, watercoloured them with Lindy’s Magical powders, so they have even more coloured shimmer, and then trimmed some of the flowers and leaves out to place on the orginial design, or tucked into the background so it has multiple layers.  


It has a lovely effect!  The teal background is created with a Spellbinders Tufted 3D embossing folder.  To highlight the centers of the tufting, I used some gold Lunar Paste with a paintbrush. 


Here’s a look at the 3D effect of the card which is so lovely!  I see much more letterpress in my future!  Thanks for joining me today!  

Monday, March 6, 2023

Good Friends Pass the Popcorn

March Release Graphic

Fans of The Cats Pajamas we’ve got so much in store for you this month!  I'm bringing you my first trio of cards this month with all the fun new release images.  They are just right for bringing tons of cheerful celebration.


I’ll kick it off with this fun slimline design using the Good Friends set.  As soon as I saw these binge watching penguins I thought it would be a fun one to mimic the popcorn box onto a background for the card.  All it took was strips of red cardstock.  The sentiment from the set is printed jumbo size and then I’ve added these red couch cuties and their retro TV.


They are coloured with Copics, with a fuzzy rug beneath them.  I added strips of warm grey to the card to help with the feeling of direction and the idea of “passing” the popcorn.  My husband always teases me when we share popcorn, that I dont get half of my handfuls in my mouth.  

Flatlay view of Penguin card saying Good Friends pass the popcorn.

I always think these guys are a hoot.  Perfect for a friend, or movie night invite.

Next it’s Birthday time!  

Bunny behind mega sized cupcakes on multi-coloured background

This fun set is called One Cupcake.  I always think birthday cards should feel like a big celebration, so I often incorporate lots of colour.  This was an especially run one to make because I used some new products for me, sprinkled Lindy’s Magical Powders on embossed watercolour paper with lots of spritzed water to create this vibrant and shimmery background.  Jennifer McGuire showcased this earlier this year and I just had to try out that fun explosion of vibrant colour.  I think it’s the perfect backdrop for this fun cupcake and bunny. 
 
Close up of Bunny behind mega cupcake card

Our birthday bunny is coloured with Copics, accented with white gell pen, and I  added some coordinating balloons from a retired TCP birthday set stamped in matching colour. 
 
Flatlay of bunny and mega cupcake card

I just feel like it’s a party on a card!  

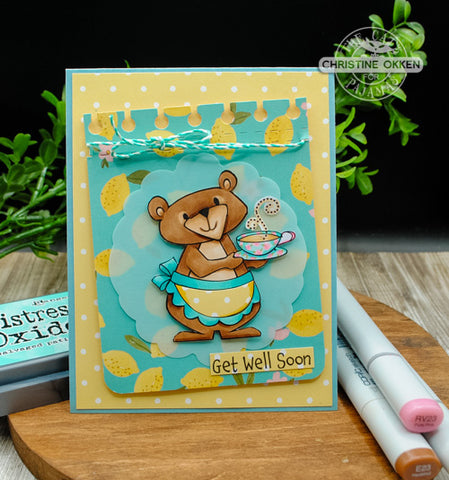
And lastly, for those occasions that need a little extra cheering up....a Get Well design using A Cuppa set. 

 
Get Well Bear card bringing tea

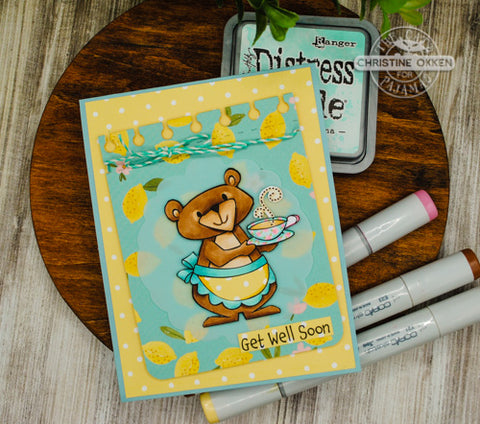
This feels like the perfect pick-me-up!  Mama bear bringing a cozy honey lemon tea for the sickie.  I’ve coloured and paper pieced the bear with Copics and patterned paper and she’s trimmed out to lay on layers of sponged vellum, and the perfect lemon-themed patterned paper.  

Close up of bear bringing tea on Get Well card

TCP retired dies are used to create that notebook top and the shape of the vellum die cut.  You can see I’ve added some “print” to the tea cup and saucer to coordinate with the pink flowers on the patterned paper with my Copic markers.  It’s little touches like that that really give a card that extra touch. 
 
Flat lay of bear bringing tea on Get Well card

The sunshiney design is sure to encourage.  

I hope you’ve enjoyed this little trio of March Release designs, here’s a peek at the products I used!  Be sure to give the store a visit! 


Monday, February 20, 2023

The Blossom Challenge: Inspired by the Sea and Magical Powders


Welcome cardmaking friends!  Today I’m kicking off a brand new theme for The Blossom Challenge at Power Poppy!  

This month it is an Inspiration Challenge based on a photo from my recent trip to Northern California for work.  At a local friend’s recommendation we took a day off to head to the coast, through the Sonoma Valley wine country to a spot called Bodega Beach.  Its a sweet little coastal town with miles of beaches along the coastline.  It was such a stunning surprise with the cliffs, bluffs and pounding surf, you’d think for sure you’re in Cornwall, England rather than the Cali coast.  There was one spot called Bodega Head where you are high on the bluffs looking down at the rugged coast where I took this picture above.  In the foreground you can see the vegetation with the pop of pink.  These plants are succulents called Sea Fig, and the flowers bloom lots of different colours.  Its invasive in California, so they’re trying to control it, but it sure made for a beautiful picture!  

I’ve created two cards with this inspiration:  First up, a design inspired by the colours and plants in the photo.  


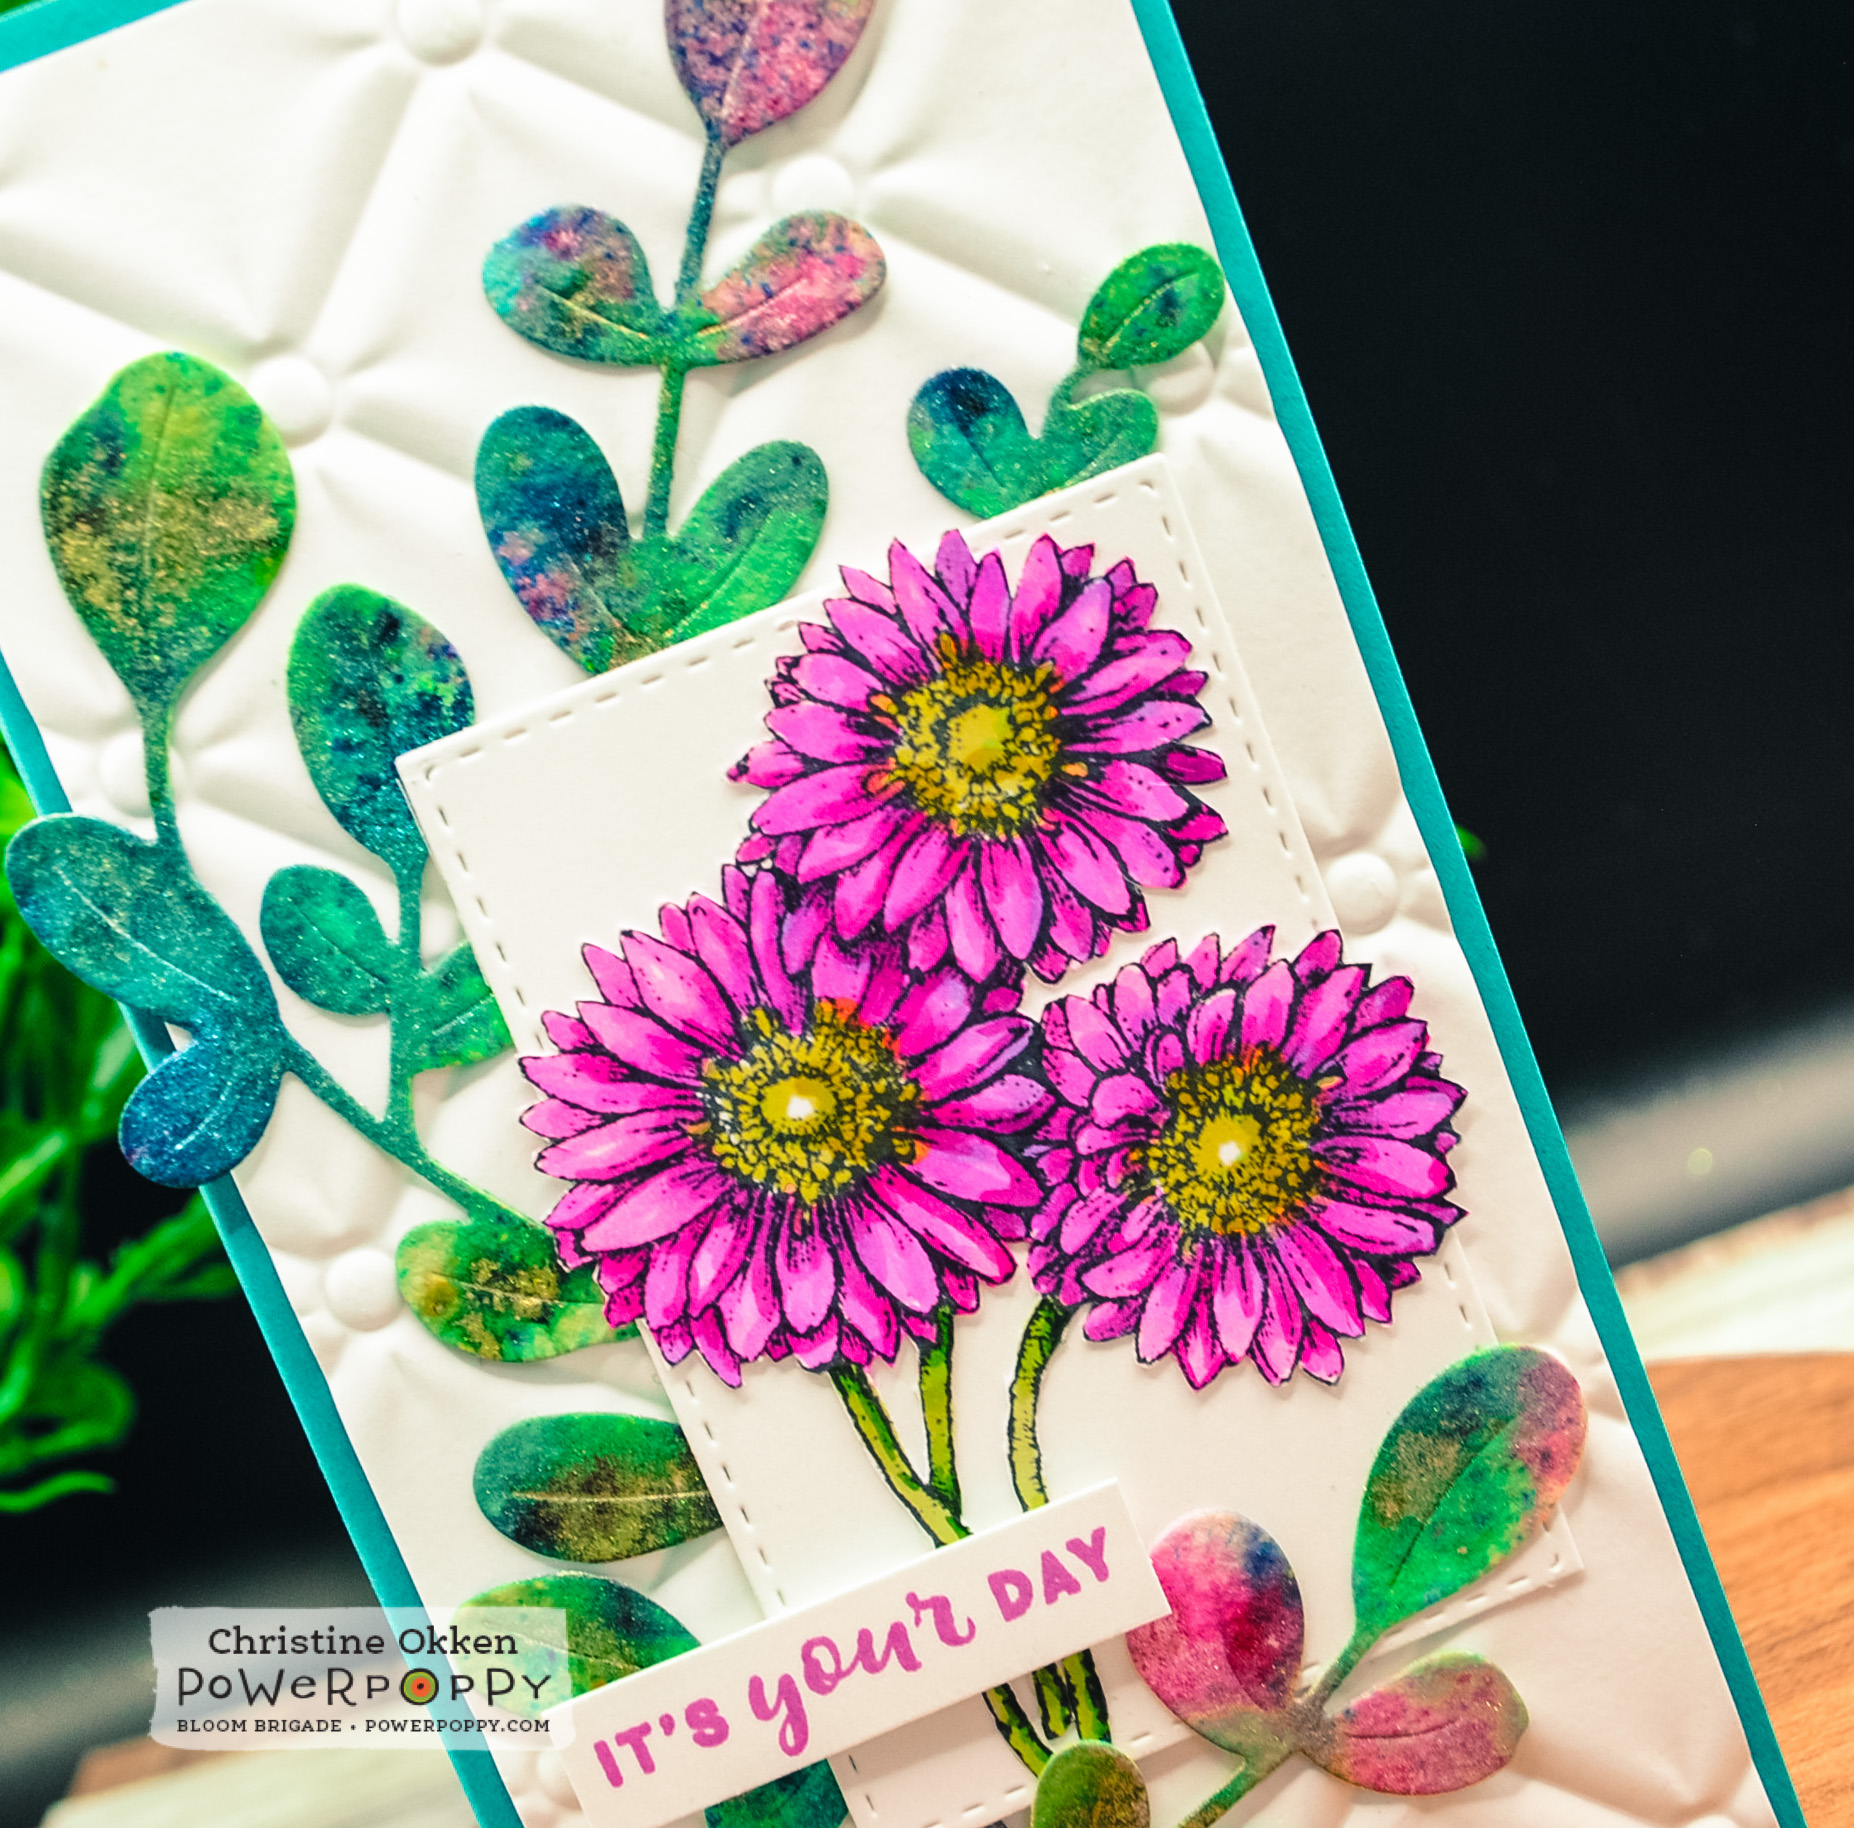
It’s a mini-slimline design using Power Poppy’s Gerbera Daisies Stamp set to mimic the flowers of the Sea Fig, colouring them in vivid pinks with my Copic Markers.  They are fussy cut and placed on a layered background with a die cut that I think imitates the sea fig vegetation.  A very FUN new find for me is the Lindy’s Magical Powders that I picked up which bring all the colour to that die cut!  These powders are dye based and activated in water, and result in gorgeous vibrant saturated colour and shimmer.  I think they really give the feel of the succulent vegetation and the colours of the sea.  


Here’s a view that helps you see how shimmery and shiny they are, and what awesome colour you are left with.  I’m going to be using them a lot in my future!  I’m using watercolour paper because it holds the moisture you need to activate the powders.  


The pretty little sentiment is from Power Poppy’s sentiment set, Nice Things to Say (in stock in polymer).  


Now I have a card that is very ocean forward.  


For this design I really took inspiration from the layout and colours in the picture.  I started with the background and used the same Lindy’s Magical Powders on watercolour paper to create sky, sea and ground with different powder colours, activited them with water and let them dry fully.  then I ran the background through an embossing folder I have that has the feel of the vegetation.  Next I brayered watered down white acrylic paint over the embossing to give the feeling of foamy waves and bring some highlight to the dimension of the embossing.  


For this beautiful sentiment I used one of my favourite Power Poppy sentiments M-Powering Words , embossed it with a metallic embossing powder in teal, trimmed it out and placed it on teal glitter paper and a layer of vellum.  Then, I accented the card with pretty dies from The Greetery Curio Summer Findings

I hope this inspiration has taken you on a lovely journey to the sea!  Join us in The Blossom Challenge this month!  You could win a Gift Code for the Power Poppy store!