Showing posts with label Holiday. Show all posts

Wednesday, November 15, 2023

TCP - Citrus Christmas!


Hello!  Today I’m bringing you two citrus coloured designs from The Cat’s Pajamas November Release!   Its full of fun and festive designs for the season and I had a lot of fun creating these designs.   First up, this adorable pair in front of the fireplace, tucked in for a cozy evening.  This one is called I Like Big Gifts.  


I began by colouring up the image with Copics in fun lime green, orange and coral red shades.  Non-traditional palettes are really popular right now, and this is a fun one. Then I added in the background details with prismacolor pencils, like the wallpaper and wood flooring.  

The background layer was embossed with a snowflakes folder, and then I added sparkly touches with some  sparkly embossing paste.  I also added the same sparkle to the die cut sentiment.  


They are such a cute pair!  

Now we’re headed to Grandma’s house for Christmas!  


This one is called Beary Christmas, and I just love our retro style bear driving on over to celebrate!  He’s even brought the Christmas tree and lights along!  


I started by colouring up the image with Copics, and then created a background with a retired TCP stencil by ink blending some deep greens and white ink for highlights and depth.  


I die cut some snowflakes in rich citrus shades to coordinate with this juicy palette and accent the little scene. 


A bit of twine ties it all together and we’re ready to celebrate!  

Here’s a peek at the new TCP goodies I used:


Saturday, November 11, 2023

Stitching Saturday - Argyle Poinsettias


A little late in the day for my Saturday Stitching post, but it’s a gorgeous glitzy one for the Christmas Season!  When I was buying embroidery thread I spied these beautiful glimmery threads that needed to be part of my colletion.  For today’s design I created a shimmery gold and green argyle background for this stunning poinsettia from Spellbinders, this is a dreamy one from the De-Light-Ful Christmas Collection called Poinsettia Bloom Etched Die.  


After stitching that argyle pattern onto a cross stitched die from MFT (retired), I cut the poinsettia 3 x, in white, Evergreen (C & 9), and then shimmery gold paper, piecing it all together.  I added a wee little bit of ink blending in soft green to the poinsettia because the petals needed some differentiation from each other, and most poinsettias aren’t pure white.  

The beautiful foiled die is from The Greetery called Opposites Attract Hot Foil.  It all comes together so nicely for a very beautiful and festive Christmas card!  


Thursday, October 19, 2023

Glimmering Happy Holidays with Spellbinders

One thing that is truly beautiful about Winter is how it glimmers.  Snow sparkle is a wonderful thing to behold.  This new Glimmer stencil and Hot Foil from Spellbinders called Glimmer Holly Background gives me all of those snow sparkle feelings!  First I foiled the design in silver. I decided on a non-traditional palette of teal, pink and green and stencilled in the colour with Concord & 9th inks.  


I added in some extra greenery and berries using a second foiled and stencilled background and cut these pieces out as accent.  A fun part of Glimmer dies is that they can also be used to deboss the lines into cardstock, so the center white layer has the same pattern of embossing.  A little faint in this photo but more visable in the next.  


After using the left over foil from the design on a Solid Rectangle Essential Glimmer Hot Foil Plate  I was able to create reverse foiling to be able to cut a Happy Holidays sentiment with a retired die.  I sponged this with Aqua Sky ink to tie the colours together.  Silver foiling really does take on the colours around it.  So it shines different colours.  

A few enamel berries finish off the shimmery design.  

Friday, September 22, 2023

Golden Watercolour Poinsettias with Spellbinders


I’ve relented and am starting Christmas designs, so I thought we should begin with a bang and real beauty from Spellbinders called Poinsettia Bloom Etched Dies and the gorgeous foiled background from Spellbinders called Pine Sprays.   The poinsettia set is mean to be a straight die set, but for fun, I foiled the outline of the die and then decided to pull out my Daniel Smith watercolours and painted the bloom and greenery.  You can see the flecks of gold outlining the sectinos of the petals and leaves from the foiling with makes for a lovely effect.  


Next I used the outline part of the die to create layers of golden foiled greenery and metallic gold accents from paper.  It has amazing gold shimmer in real life.  It’s layered on an older Spellbinders circle die with intricate cutting, and then layered onto the foiled pine card base.  Tons of dimension. 

A pretty foiled sentiment from Yana’s Sentiments Glimmer with a pop of colour and some gold sequins add more glam.  

Thanks for jumping into Christmas with me!

Wednesday, September 6, 2023

Autumn to Winter Cuties with TCP


Hello!  Today I’m bringing you 3 darling cards from September’s Release at The Cat’s Pajamas!  There are some REAL cuties included, perfect for Fall to Winter designs.  First we’ll start with some Autumn fun and the Hoot, Hoot Halloween Digi.  These dressed up littles are pretty adorable.  I combined some of the images from the set with a retired tree die set from TCP to make a perfect Fall scene.  


The little bee girl, owl and pumpkins are coloured with Copics, and then I added Copic colouring to the die to show her walking in the forest.  I love the multi-coloured and splattered leaves.   A retired grass die is layered behind the image to give it some colour and depth.  


The cute sentiment is from another TCP set, May the Forest Be with You.  TOO cute!  Next up....we’re moving to Winter with a pair of snowmen designs.  


I wanted to go a little retro with colour and pattern with these two snowguys called We Three Snowmen.  They’re coloured up with some vibrant colours (who says you have to be red and green for Christmas??), and then trimmed out.  


I placed this first snowman on a cardbase stencilled with shimmery embossing paste, and then some cute pennants utilizing another TCP retired Alphabet set.  Those pops of colour really make the card sing.  


Now his buddy card....


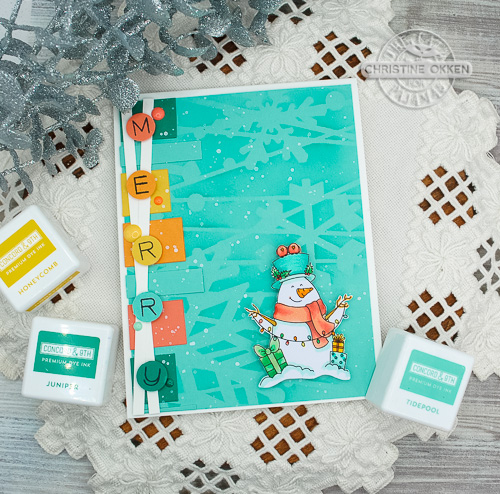
This little guy boasts the same colour palette, but the background is ink blended through a retired TCP stencil, watered down white acrylic paint is splattered, and I’ve used those same pops of colour and letters to line the side of the card.  


I just love these colours together!  A couple of enamel dots add to the retro feel.  


Hope you’ve enjoyed this cute preview of September fun at The Cat’s Pajamas!  Here’s a peek at what’s included in these new sets:   


Thursday, December 8, 2022

Inspired Nativity


Oh the days are counting down towards Christmas!  In a busy season for us I have not done any decorating, or shopping or baking....I’m a little behind.  However, I did do a little creating!  I spoke last week at a Christmas event at our Church and as received a Christmas card thank you from one of the leaders that was so lovely!  I was so inspired by it, that I decided this Christmas design above with many nods to the original card (pictured below).  


I just loved the nativity scene of the shepherds entering Bethlehem, the metallic stars, the circle motif and the great colour combination with navy, blue/green white and peach.  


So I pulled out this beautiful set from Power Poppy called Enchanted Branches Nativity (on sale!), and in Digital its called Enchanted Branches Nativity:  Baby Jesus.  I started by stamping several of the branches in the set, a lamb and the baby Jesus, colouring them up with Copic markers with that great colour palette.  I trimmed out each piece with fussy cutting and added glitter pen to parts of the images.  


For the background I began by embossing silver stars from the set in silver onto cardstock and then sponged an ombre of Salvaged Patina, Unchartered Mariner and Grey Distress Oxide ink to give you that night sky feel.  To tie in the circle motif I placed Jesus onto the die cut circle and framed the image with the branches, accenting with the lamb and the sentiment from the set.  

Love how it turned out!  Hope you enjoyed it too!  

Wednesday, November 30, 2022

Snowy Village Decor

12 Days of Crafting Graphic
Frosty Greetings to you and yours today! We’ve had a snow day here with soft flakes falling all day long.  It’s so pretty, that is until you have to shovel it! With that snowy theme in mind, today I’ve created an adorable little Snow Village with brand new cutting files from TCP called Village Treat Boxes.  These cute .svg files can be cut, or print and cut, sized to your liking and can hold any little treat you’d like to put in them.  But I thought they’d be adorable to create a snow village to decorate a mantel or little corner of the house.  


Doesn’t it look cozy?  Each little box is about 3 1/2 inches high.  

I used the files to create the boxes, and then used the print and cut portion of the .svg files to make templates where I could cut out rooves, doors, windows and accents to decorate each house. Alma has created a great video that shows you how to put the boxes together.

I knew I wanted to add in battery powered tea lights into each little house, so I cut openings in each box so light could get through the doors or windows.  


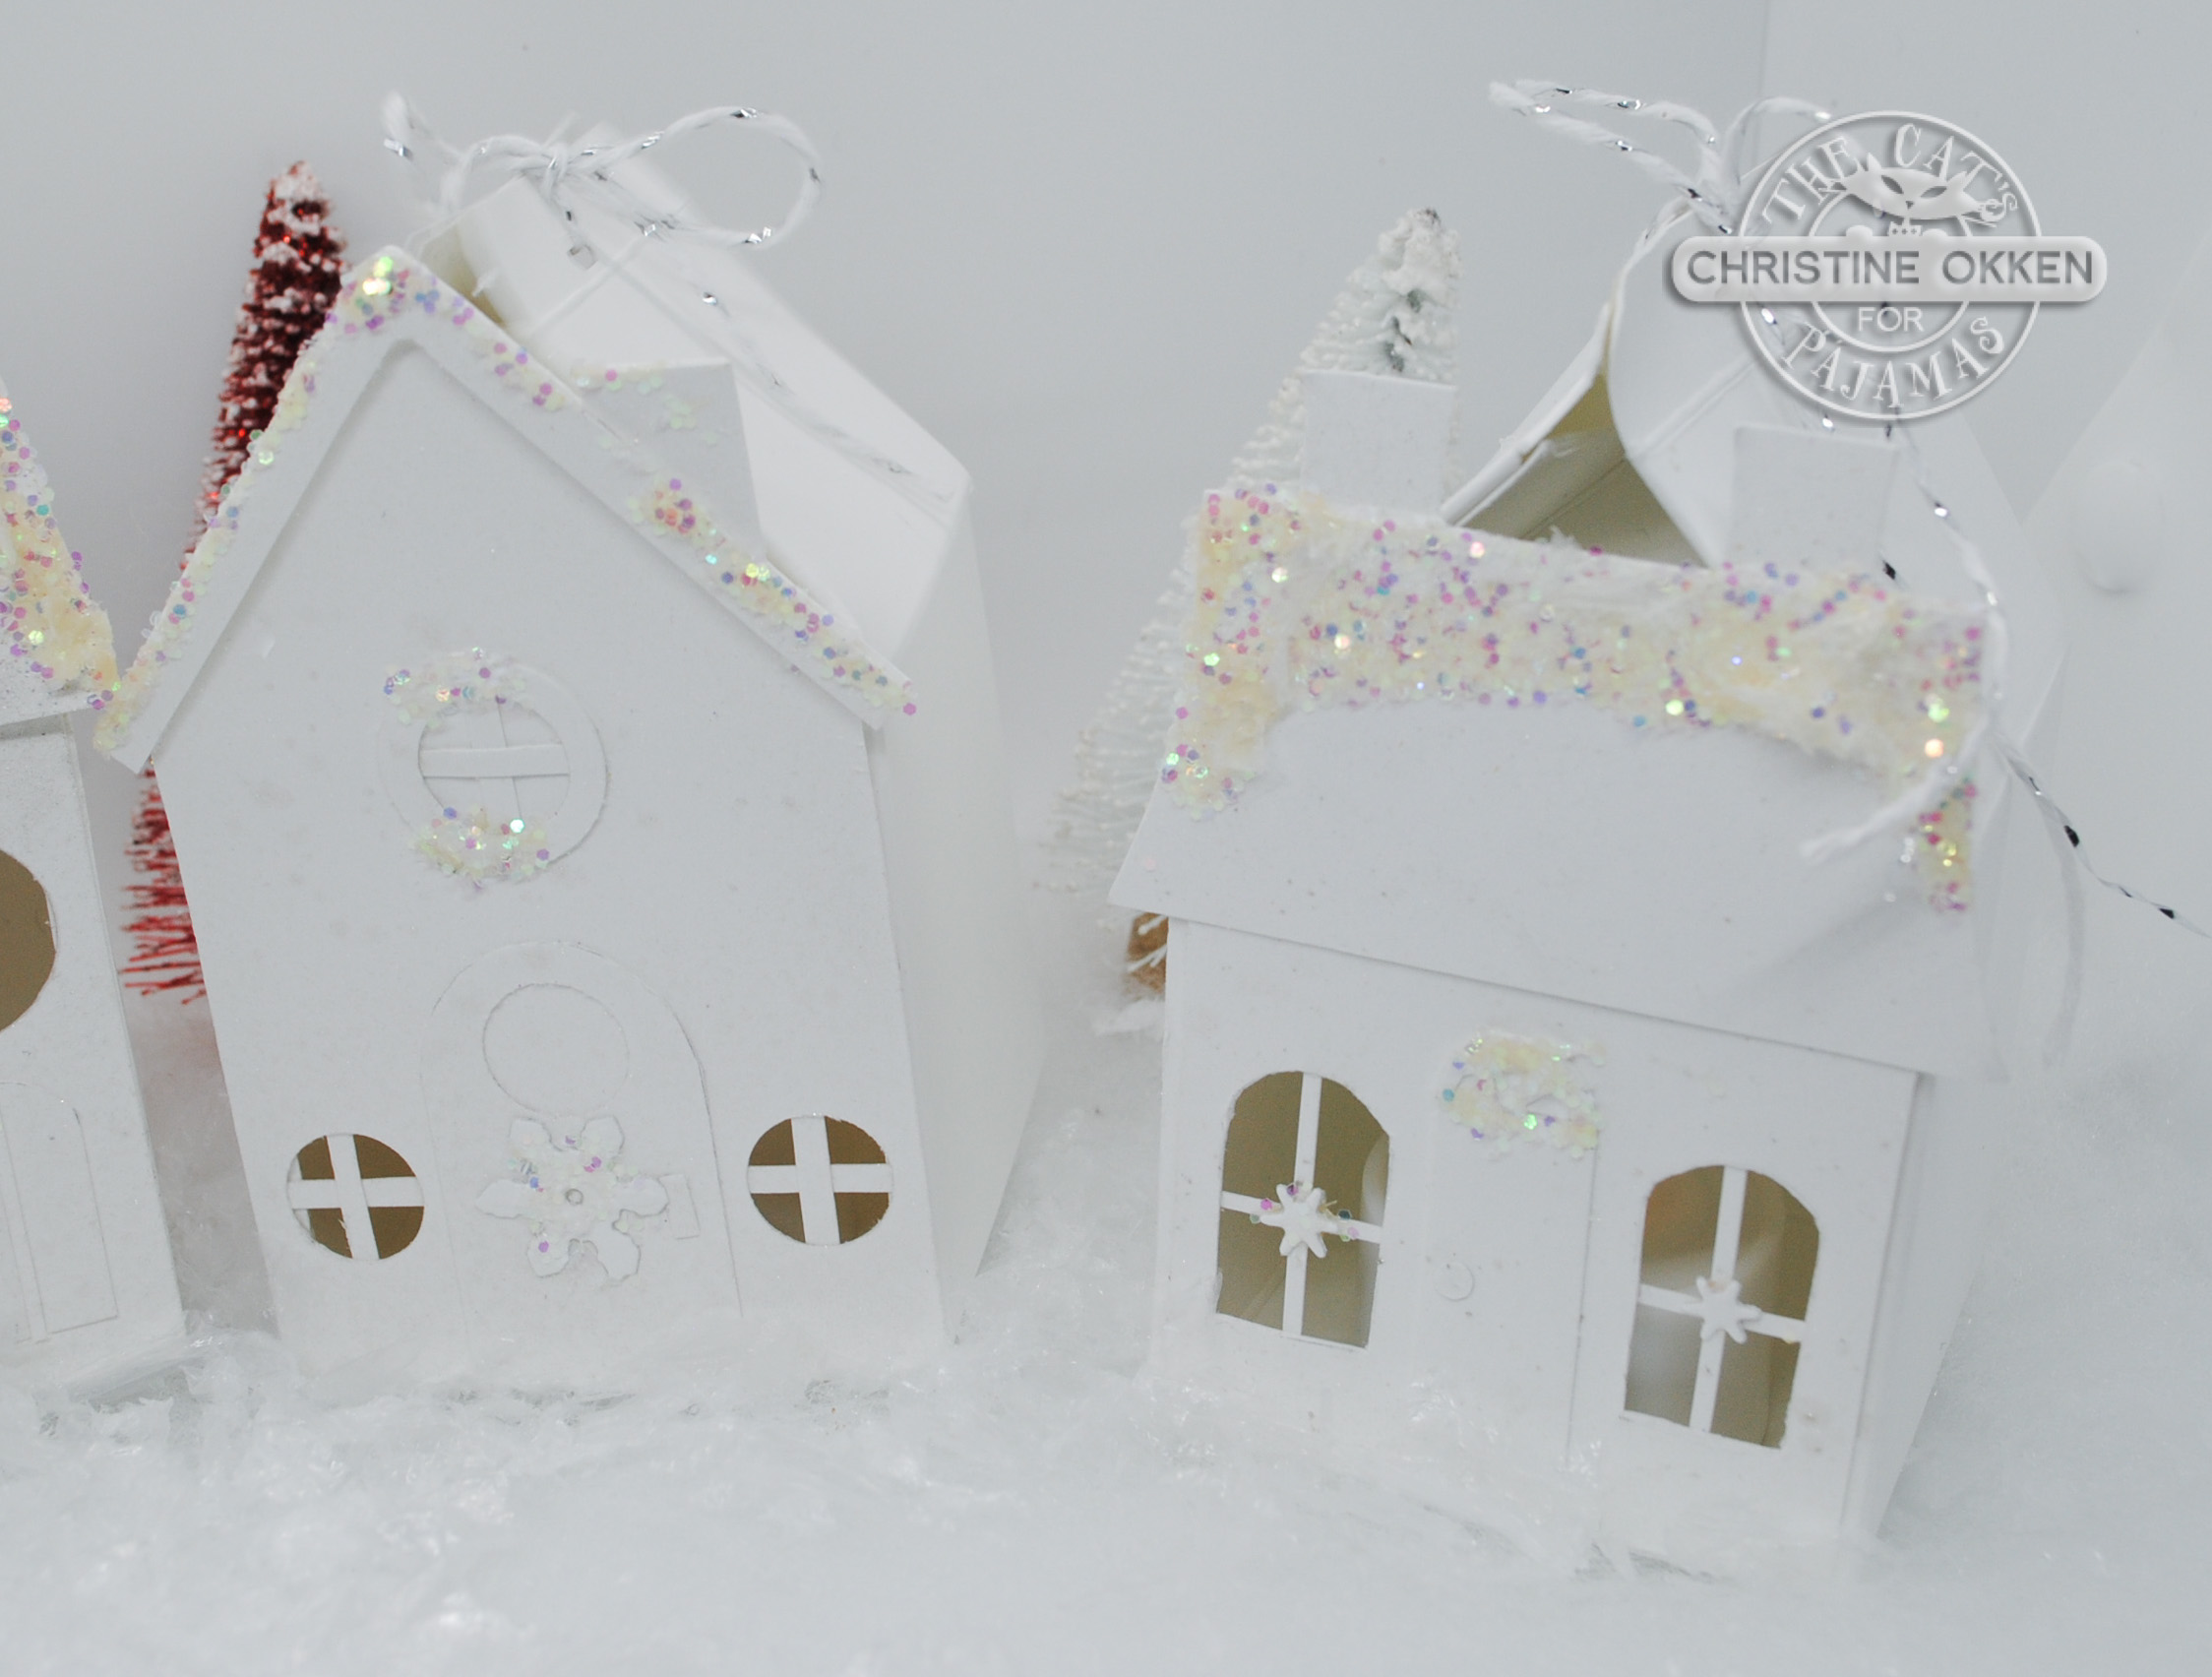
Here’s a peek at the individual houses I created.  I spritzed them all with shimmery sparkle, so each house has lots of shine in person.  Then I added thick chunky glitter snow to the rooves and snowflake “wreaths” for the doors.  Each box is tied at the top with some silver threaded ribbon to hold it together.  


In the window you can see I’ve added the tea light in the box.  And how cute is that tiny snowflake wreath!  


And here’s a little pic of what it looks like in the dark with the tea lights shining.  Like a welcoming little Hallmark town!  


And here is what it looks like on one of my picture shelves in our entryway.  With some sweet little bottle brushes in-between it makes a cherry little welcome to our home!  

Here is what the houses look like in colour, and you can see that they look great sized up too.  


I hope you’ve enjoyed this little Snow Village Tour and are inspired to create one for yourself!

We’re inviting you to participate along with us in the 12 Days of Crafting!  Choose any of the days of the 12 to be inspired by, and create along with us! 

1. Upload a project to this link by December 24.

2. Be sure to let us know what day your project was inspired by.

3. TCP products are not required but are encouraged.

4. You may submit for any and all days but only once for each inspiration day.

5. Use #12DaysCrafting22 if uploading to social media.

Prizes include three $10 flash prizes and one $25 grand prize to be announced on December 30.