Showing posts with label Grand Calibur. Show all posts

Tuesday, May 8, 2012

Hydrangeas


I'm so excited to bring you this Sneak Peek at Flourishes May set Hydrangeas!  I don't know if there is a much prettier scene than a bunch of bluey-purple hydrangea rounds full of petals.  The blue are my favourite, but they come in lots of colors notably the pink and white/green.  This is such a beautiful set Flourishes lovers!  Marcella Hawley ROCKED this month on the illustrations.  

And I'm equally excited to show you the results of playing with my newest coloring tools - the Letraset Aqua Markers!  If you've been following me for a long time you know that watercolor is where I started in my cardmaking-coloring.  So, I'm thrilled to say - these markers are phenomenal!


I pulled out my Grand Calibur and my Grand Labels Four Die to form this uniquely shaped card, the main image is on watercolor paper (stamped with Stazon), cut with a Lacey Circles die.  Just LOOK at the pigment you can get with these markers!  I blended with the Aqua Marker blender and it works really well.  No messes and super control on your blending.  The best thing?  These markers are really inexpensive compared to copics, and they have two tips as well.  I used Storm Blue, Royal Purple, Flamingo Pink, Celery, Spring Green and Golden Brown on this card.  

I've added some beautiful wide lace from the store, a silk bow, braided trim, and some pretty pearls.  


LOVE.  And I know you will too!  Be sure to stop by the rest of the Design Team to see their beautiful Hydrangea creations.  I've had some sneak peeks of them - and you will swoon!


PLUS!!! SPRING CLEANING SALE NEWS!!  Starting today you're going to see a lot on sale in the Flourishes Store.  After all, we're women who want some new stuff on the shelves to shop for at FLLC and that means we need to make some room in those shelves!! So, beginning Wednesday through Sunday you'll find 15% off all embellishments, papers, Spellbinders dies, and embossing folders.  Code will be SPRINGCLEAN at checkout.  


Somewhere along the way today one of the DT members is the Mystery Blogger, commenting on that person's blog makes you eligible to be chosen to win this set!  So, the more comments you make....the better your chances!

Head to the Flourishes Blog at Noon Today for the Noon-Time Challenge and your chance to win this set!

Play in our Home Sweet Home Challenge for your chance to win the entire May Release!

And all these sets are available for pre-order CLICK HERE!

See you tomorrow with a preview of a set many of you have been asking for....

Wednesday, February 8, 2012

Noon-Time Challenge: Pinter-Inspiration


Good afternoon everyone!  My sincere apologies for not having the post ready for you at Noon.  It was supposed to go live, and then when I looked on my way home from a retreat...nothing.  No post either. So we'll try again with this gorgeous inspiration picture!!


I took my cues from the shapes of the cameo and the colors and textures of the inspiration photo.  I've used my Grand Calibur, Grand Scalloped Circles Dies, Grand Circles dies on the clear polka-dotted layer, and the Ornate Artisan Tags for the scrolly shapes.   The coloring is done with Copic Markers in these Flourishes Collections:


So please play along with us today in this beautiful Inspiration challenge and you could win one of our new Releases this month!

For more inspiration see:

Thursday, February 2, 2012

Flourishes February Pre-Release Challenge!


Welcome to February everyone!  Hard to believe that one month of 2012 has already been completed.

This month our Challenge is Black and White plus One!  And it's just as easy as it sounds - join us in creating a card using the colors black and white with only one extra color.  


I pulled out the set Fanciful Flourishes .  I think a damask style flourish looks gorgeous with black and white, and these hearts are perfect with a little pop of color.  I stamped the solid heart in Memento Lilac Posies, and then inked the damask heart onto cardstock vellum in VersaMark embossing with fine detail embossing powder.  You may not be able to see from this photo but I also added the damask flourish image to the black layer, embossing it black on black. 


In this photo you can see the black on black a little better.  I've used Spellbinders Ornate Artisan Dies to cut the shapes.  Embellished with some gorgeous ribbons from the store as well as some pretty pink rhinestones swirls.  

Join the girls today in this Black and White plus One Challenge, you could win the whole February release!   Upload your link to the Flourishes Blog by Friday at 5 PM to be eligible to win!  Can't wait to show you Sneak Peeks next week, you will love them!

Christine Okken (you are here)

Sunday, January 22, 2012

Ode To Waterlilies

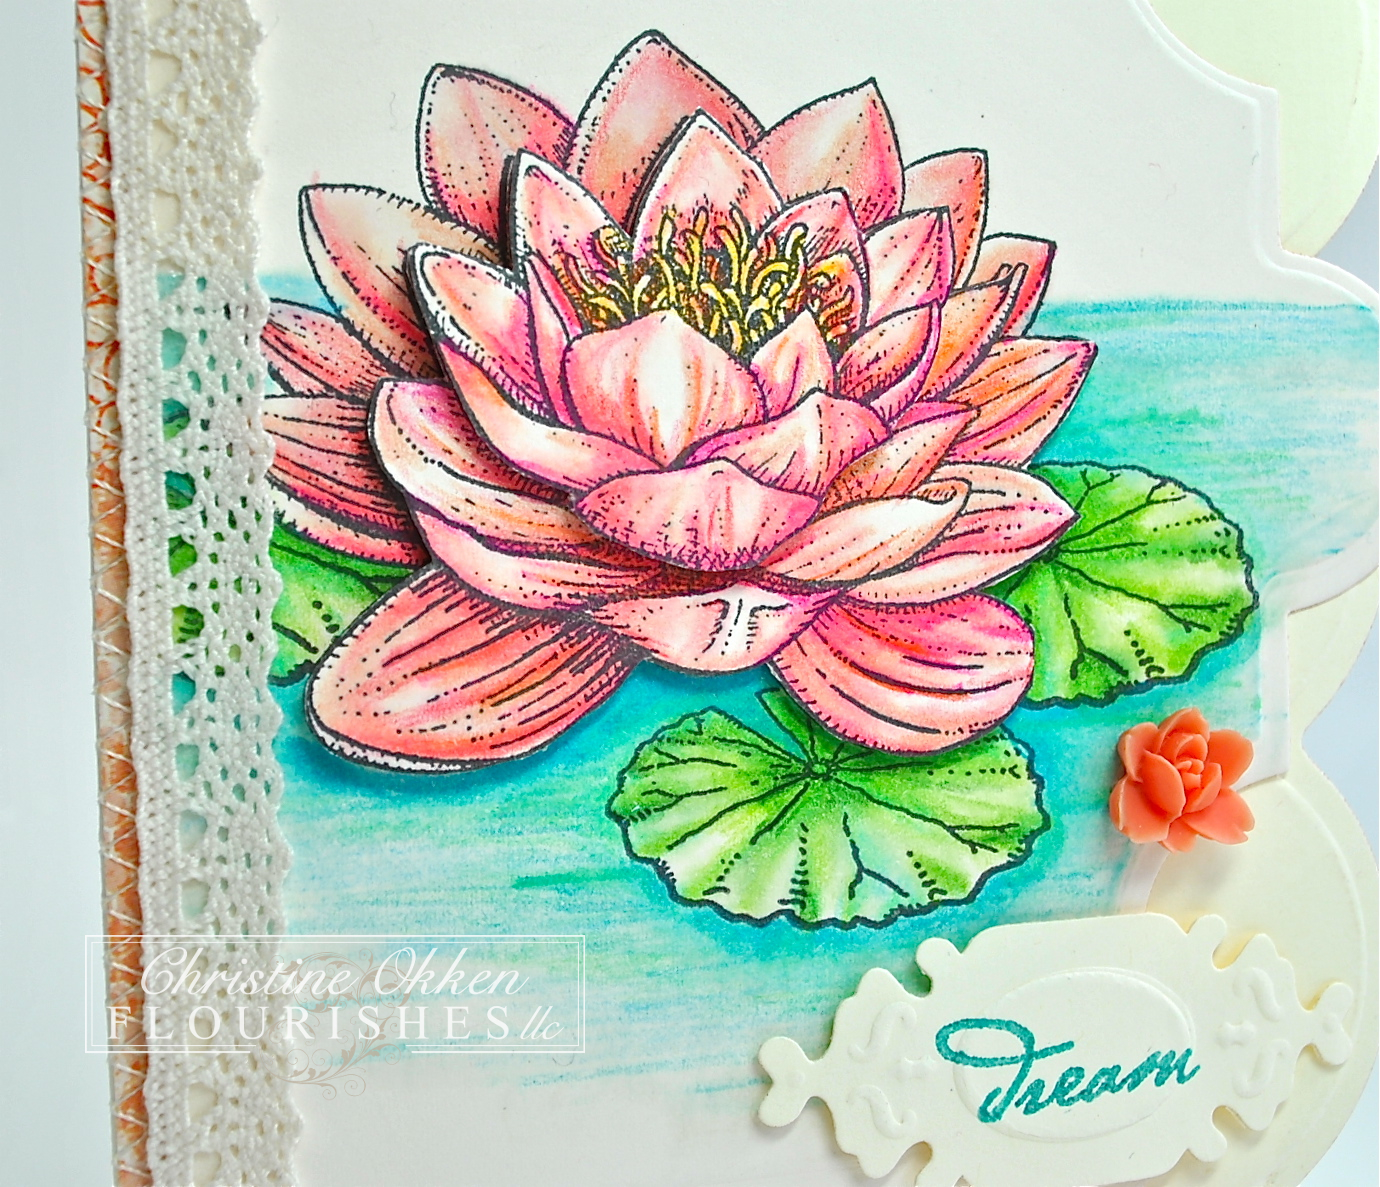
Last year I did a few "Ode To..." posts with some of my older Flourishes sets, reminding me (and you) why they're still wonderful.  I create something new, as well as remind you of some older cards I made with this set too.  Today I pulled out my Waterlilies set, penned beautifully by Marcella.  It contains some koi fish, lily pads, waterlilies and buds, and as always some lovely sentiments.

This card I created is a bit of a departure in style for me, it's a bit "scrappy".  I'm trying to stretch a little :)


I began with my Grand Calibur machine and the Grand Creative Book Pages Dies and Grand Creative Book Pages Two, creating this tall and narrow shaped card.  I took a few pieces of dp I had and sewed them on in a scrappy style.  

Now...for the waterlilies.  This set looks beautiful stamped on it's own, stamped and colored or layered like I have done - paper tole style. 


As you can see I colored up three layers of flowers with my Prismacolors and layered the waterlily up.  Waterlilies have this sort of vein-like coloring to them so you can see the sharper lines in the coloring.  


alright now for a trip down memory lane with this set:


A little water swirling in the koi pond with some copic markers....


Some reflection technique in the water with copics and metallic pencils.  


Some rich watercoloring and pretty piercing.  


Soft and romantic with Copics


And some more prismacoloring with a similar palette to the card today.  

So, you can see how I've changed, my styles and coloring have changed over time too, and hopefully you've seen all the potential in this lovely set!

Have a great Monday everyone!

Wednesday, January 4, 2012

Crazy Quilt


I have never played in the MoxieFab Challenges before, but this week I had time, and could not resist this gorgeous quilt as the Tuesday Trigger Inspiration.  


If I could quilt, that's how I'd quilt.  I love this style of quilting with the repeated rows of stitching in between all the numbers.  It makes for a super pretty soft effect, and a soft quilt too.  So it's pretty obvious how it inspired me in my card above.    

I began by taking a 5 1/4 x 5 1/4 inch piece of Vanilla cardstock, tacking down some of my PTI number dies, cutting them out, using the negative space and then backing those with different colors of cardstock.  Then the busy fussy part, I crazy stitched all around the numbers, pretty randomly.  This took quite a while, and lots of patience, broken thread and hand cranking :)  But it was fun.  And though it's not perfect in execution, it was cool to do.  Thanks Tuesday Trigger!  

Stamps:  PTI - Friends till the End;  Ink:  Marina Mist;  Paper:  Pear Pizzazz, Marina Mist, Very Vanilla, Pool Party, Peach Parfait;  Accessories:  PTI - Numbers Dies, Bauble, Vanilla Seam Binding, Glue Dots, Sewing Machine, Dimensionals.  

Thursday, December 29, 2011

Happy Days are Here!

Someone special is happy today has arrived :)  Today Barbara Anders is celebrating her LAST day of work and retirement!  Woo Hoo!  I know she's been counting down the days on her blog for a long time to finally be here.  So today Tammy Hershberger and a bunch of Stampy Girls have gotten together to wish Bar a very happy Retirement Day!


I really, really love this set from Flourishes, it's called Spring is Sprung.  It's one of my fav's from the past year of releases.  And I love the theme of new beginnings in it, perfect for the new beginning of retirement life!

I've used some pretty Copics to give it a fresh dose of springy color and this week's Mojo Sketch for some round fun.   The papers are from MME Sunshine pack.


Now isn't this sentiment perfect for the inside of the card?


Happy Retirement wonderful lady!  And many happy stamping days ahead!  

Here's the rest of the girls playing in the celebration so go and check them out:


Stamps:  Flourishes - Spring is Sprung;  Ink:  Memento Tuxedo Black, SU Pool Party;  Paper: Flourishes Classic Ivory, My Minds Eye - Sunshine DP, Cool Caribbean, Crumb Cake;  Accessories:  Grand Calibur, Spellbinders Grand Scalloped Circles, Spellbinders Grand Circles, Standard Circles Die, Spellbinders Creative Book Pages, Copic Markers (BG0000, BG11, BG70, BV000, YG17, YG61, E43,E44, E47, E81, E87, W2), Crumb Cake Seam Binding, Twine, Assorted Buttons, Glue Dots, Dimensionals. 

Wednesday, December 28, 2011

Cute Custom Flower Barrettes

How is your post Christmas week going?  We had a great Christmas, but unfortunately the stomach flu found our home right after Christmas, meaning we didn't go to the mountains as planned.  Really a bummer :(

I enjoyed the giving this Christmas :)  We have four little nieces under the age of 7.  They are all girly girls, with pretty hair that begs to be "embellished" :)  So this year for Christmas, I made them each special hair barrettes.  It's actually a very easy project, and they turned out SO cute!


I started out with some felt, my Grand Calibur and this great Spellbinders Spiral Blossoms One Die from Flourishes (and the die is on sale right now :) ).  A heavier wool felt is far superior for this project, cuts like buttah!  But, you can also use regular crafting felt too.  You'll just have to run it through your machine more than once and be willing to snip any fuzzyness.  I taped my die to the felt so that when it ran through the machine more than once (this was the crafters felt), it would stay in place and not slip. 


Here are the other supplies I used:  The leaves are made from the Blossom Tags Accents Die (also on sale!).  Then I found some barrettte hardware at the craft store, and my hot glue gun.  


Starting from the outside of the flower and working in, roll up the blossom allowing the petals to become "rose-like".   


With your hot glue gun, add a small blob of glue onto the center of the wide-est part of the petal middle and attach your rolled flower.  Allow to cool. 


Add a line of hot glue to the top of the barrette hardware.  Lay leaves overtop of hot glue.


Add a larger circle of hot glue onto center of leaves and attach rolled felt rose.  When cool snip any threads of glue.  

DONE!  


And seriously aren't they the cutest?  I'm so happy with how they turned out.  They are so simple to make and yet make such a pretty custom hair barrette for pretty little girls!  I even put one on my 15 year old daughter, and it looked so great in her hair too.  

Come back tomorrow for Flourishes Friday and I'll show you how I packaged them.  Too cute :)

Monday, December 19, 2011

A Little Note Card-Victorian Box

Hello again everyone!  Good News!  I think I got my Christmas shopping done today!  Woo Hoo!  I have to unpack everything from it's hiding place now and sort out what is for each person, to see for sure - and compare to my list;  but it was a good day to accomplish things, and that feels great.  By tomorrow I'll have all my Christmas cards out the door too.   How are you doing on getting things done?

Another quick installment of a gift I did for our staff Gift Exchange at the office.  We had to do a homemade-style gift (SO difficult hey?  Wink!)  Many months ago I made another Grand Victorian Box for Splitcoaststampers HERE is a link to the tutorial I had done, and hadn't shown it to you yet, so I made some note cards quickly to go with it and put it together for the Gift Exchange.

Here is the box with the beautiful Zinnias set:  You can click on any of the pictures to see them larger if you like.


And here are the note cards and envelopes that went inside.  Super simple and straightforward on each of them: 


And one more look at the top of the box:


I just love the Zinnias set!  

Monday, December 12, 2011

Bless Your Heart

Hello Friends, long-time-no-talk-to :)

As I'm sure many of you are experiencing - this is a really busy time of the year for us.  And I've had zero time for this little blog of mine.  Last week Friday started the Feminine Flair Pre-Release Challenge at Flourishes, and I wasn't able to participate because my very lovely Lace and Trims set hadn't arrived yet.   Here's the Challenge:


Lace, pearls and flouncy ribbons – these are the things that make up a creation with a truly feminine flair. That’s what is at the heart of this month’s challenge. To enter, let’s see how you add a dose of femininity to your cards or creations! Link your project up here (below using our inlinkz widget). If you upload to SCS, please use the key word FLLCDEC11. Use Flourishes stamps if you have them, but if you don’t please play anyway! The winner will recieve our entire December release. You have until December 16 at 5 PM Eastern time to submit. 

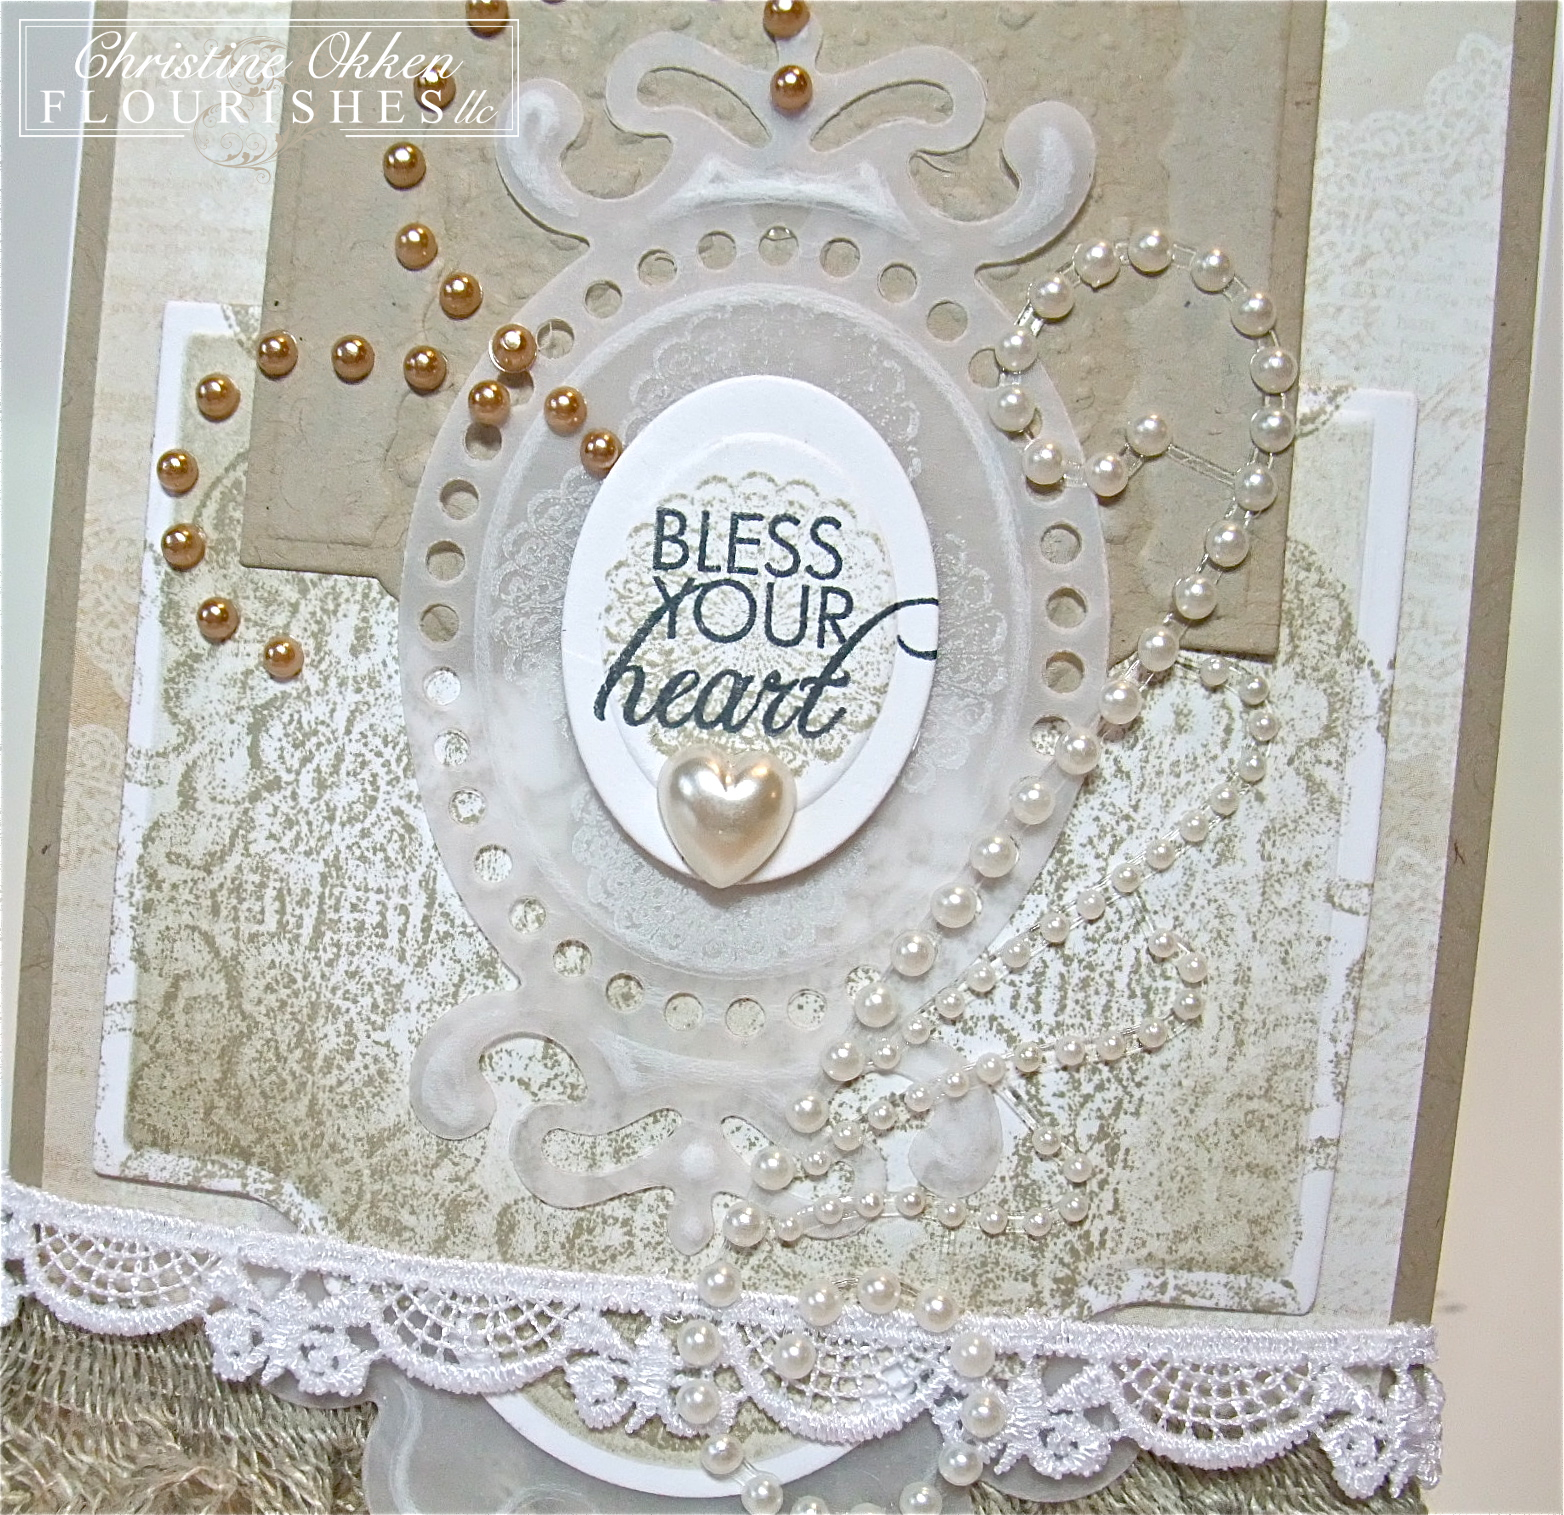
Today I finally can show you this pretty set on my card.


This lace set is really unbelievable.  It's actually a close representation of some very special vintage lace that had been in Jan Marie's family.  And it stamps like a dream.  You really feel like you are looking at actual old-fashioned detailed lace on the paper. The fantastic news?  This set is on sale for $10.  Amazing buy!  

I stamped the wide double lace with Kraft ink onto Flourishes Classic White Cardstock, cutting it out with my Grand Calibur and these gorgeous Grand Shapes, Creative Book Pages and Creative Book Pages Two.  They really have some of the most amazing detailed shapes in these sets.  I've used some matching lace styled paper from the Sunshine Kit in the store, and then added some beautiful laces and pearls from the store as well.  It all adds up to some feminine elegance.  


The sentiment is from our beautiful Medallion Motif set 

So, we hope you can join us in the challenge.  It means all new and gorgeous Flourishes sets....Gorgeous Sneak Peeks start tomorrow!  

Monday, December 5, 2011

Showy Boxed Christmas Set

I'm back with another Gift Set I put together for our Women's Christmas Event this week at Church.  Today I'm going to show you a set that has the showy factor to it.  It's packaged in a clear box so all the inside parts are visable.


These are all the elements wrapped up in the pretty clear box (an old stamp box from PTI).  I've re-purposed it, giving it a pretty header and it's ready for something lovely inside.  In this box are 3 cards, matching envelopes and 3 Gift Tags. 


I've used a couple of Flourishes sets again...Doves and Holly and A Gift for You.   These two sets are so pretty because the coordinate.   I've stamped all the images in shades of Memento Ink, and then sponged each of the Nestability Shapes heavily to match.  


Here's a close up of the cards, as you can see I've added Dazzling Diamonds around the card borders for some pretty shimmer.  The cards are cut with Labels Seventeen Spellbinders, Ribbon Slides, and then the Tags with Lacey Circles.  


Pretty, simple, and easy to do!  And a great gift set.  It's all ready for Christmas packaging!

Sunday, December 4, 2011

Joy to the World Set

Good Monday to you all (or Sunday night depending on when you're here!)  How are your Christmas preparations coming?  I have to admit I have done very little this year.  We have not had a spare minute to do anything shopping wise, let alone decorate the house, or send cards and bake.  We just returned from a 3 day work retreat, and while it was a great time for us as a staff, I'm starting to run out of days here before Christmas!

This week is a Ladies Christmas Banquet at our Church, and I usually do some type of give-away, so I just finished up this Gift Set to show you.  I love doing card sets, because if the winner is behind like me :)  then it's a nice jump start on their preparations!


For this set I formed a box out of the Grand Labels Four Spellbinders Die, using my Grand Calibur machine.   I wanted something large enough to hold regular A2 sized cards and envelopes.  I've used two mini sets from Flourishes - Alleluia Angel and Rejoice.  Both are inexpensive ($8.50 each) and well worth it!


I've accent the box top with various beautiful laces from the store, pearls and Copic Coloring (R27, R37; G82, YG61, E00, E50, E51, E53, E43, E44, E33)


Here is the box open.  As you can see I have my cards inside as well as envelopes, and then a hinged box lid.  


Here is the set, on the lower left you can see a bit of the decorated envelopes. 


The touches of designer paper in the paper piecing and the card bases is from My Mind's Eye - Rosy, not a Christmas paper, but perfect with it's red and green palette.  


As you can see I've added some copic coloring onto the paper pieced angels' dresses to give it more realism.  

Back tomorrow with another set I'm giving away!

Stamps:  Flourishes - Alleluia Angel, Rejoice;  Ink:  Memento Tuxedo Black, Rhubarb Stalk, New Sprout;  Paper:  Flourishes Classic Ivory, MME - Rosy DP;  Accessories:  Grand Calibur, Fleur De Lis Rectangles, Ribbon Banners, Grand Labels Four Nestabilities;  Victorian Embossing Folder, Laces, Organdy Ruffled Ribbon, Scor Tape, Dimensionals, Copic Markers.