Showing posts with label Anniversary. Show all posts

Sunday, April 5, 2020

TCP New Release: Silly Numbers and Die Day!


Welcome back for The Cat’s Pajamas Sneaky Peek Week!  We’ve been having tons of Birthday fun and today it continues with Die Day!  We’re showing off all the fun die combinations in this release.  


For today’s card I chose to focus on the combination of fun things you can do with the new Silly Numbers Stamp Set and the Silly Numbers Coordinating Die combined with the new Best Wishes CutUps word die, in a cute whimsical colour combination.  

I started with stamping out the numbers onto cardstock using my MISTI tool, then I placed the Silly Numbers Die overtop of the numbers, added a little tape to hold them in place and then ran it through the die cutting machine to get the cut outline on the numbers, just leaving them in place.  I wanted it to feel like you just tossed the numbers up in the air and this is how they fell.  


For the sentiment, I used the Best Wishes Die and cut it from watercolour paper, then used my Zig Real Brush Markers and added the colouring to the letters to match the numbers.  It’s placed on a Framed Up 2 CutUps open circle die, with vellum underneath.  Then it’s just  coordinating baker’s  twine and enamel dots to accent.  It’s a fun CAS design.  

Here’s a peek at the products I’m showcasing today....

Are you In It To Win It?  Today’s post could be a contest winner for you!  All you have to do to enter to win a $10 Gift Voucher at the TCP Store is comment on this post, and be sure to comment on the rest of the designers to increase your chances!  Winners will be announced on the TCP Blog tomorrow!  
Heres whos playing along today....
Julee 
Christine (you are here)

Friday, July 19, 2019

Our 25th Anniversary Vow Renewal!


A few weeks ago, my husband and I celebrated our 25 Wedding Anniversary!  We can’t believe how quickly the time has gone.  We both felt like it was a significant time to mark and to celebrate.  We’ve weathered a lot in the past year with him recovering from a severe fungal pneumonia, and all the other wild and wonderful things we’ve experienced in 25 years, so for this Anniversary, we decided to renew our Wedding Vows to each other before God, and our friends and family.  

For the invitation, I took this spectacular design from Power Poppy, Hummingbird Paradise, and used the design without the hummingbird in the center.  Because it's a digital design, I was able to stretch it a bit taller to form a 4 3/4 x 6 3/4 inch image to fit two onto a standard piece of XPress It Blending cardstock.  I left the middle open to be able to hand letter in the details, and then the back of the design held the event information (not pictured).   The above version is the colour copy that Marcy allowed me to do so I could print 50 of them.  Colour copying is great, but it just doesn’t capture the true colour as you illustrated it, especially the background, so I hand touched up each invite (I know, crazy!) with Copics as well.  This floral framed style invite is similar to the original wedding invitations we had 25 years ago.  But I do think this version is much prettier :)  


Here are the originals I coloured up before copying.  It was a significant amount of markers, so I didn’t list them,  but I’ll show you some of the close ups of the image.  


All those flowers together make for one beautiful frame.  As you already know, I’m crazy about flowers, and vivid colours so this was exactly what I was looking for.  Two versions of the lettering are shown,  nothing fancy, just a little Signo Multiliner.  


Would you like to see some pictures of our celebration?  We held it at our Church, in the upstairs Chapel.  Originally we got married in our college Chapel, so this was also a nod to our original wedding.  I LOVE the beams we have in the chapel, it’s such a lovely location and feels like a holy space.  The stained glass is from the original Church building exterior wall before we renovated.  We salvaged the special wall, as it was created by a special artisan from overseas.  It’s got a unique 1950’s style.  


These pictures are all courtesy of my beautiful friend Clara at Clara Cecelia Photography.  She is an extremely gifted professional photographer.  She captured so much of what the day meant for us, the people, the flowers, the emotions, our friends and family.  My brother-in-law read our Scripture from our wedding.  

"I thank my God every time I remember you. In all my prayers for all of you, I always pray with joy because of your partnership in the gospel from the first day until now, being confident of this, that he who began a good work in you will carry it on to completion until the day of Christ Jesus.  And this is my prayer: that your love may abound more and more in knowledge and depth of insight, so that you may be able to discern what is best and may be pure and blameless for the day of Christ, filled with the fruit of righteousnessthat comes through Jesus Christ—to the glory and praise of God.  Phillipians 1:3 - 6, 9 - 11 NIV.  


We bought all the flowers at Costco and filled them in with flowers from my own garden, including peonies that were from my Grandma’s plant, now transplanted at our home.  My sister-in-law who was visiting from the States did the floral arranging.  
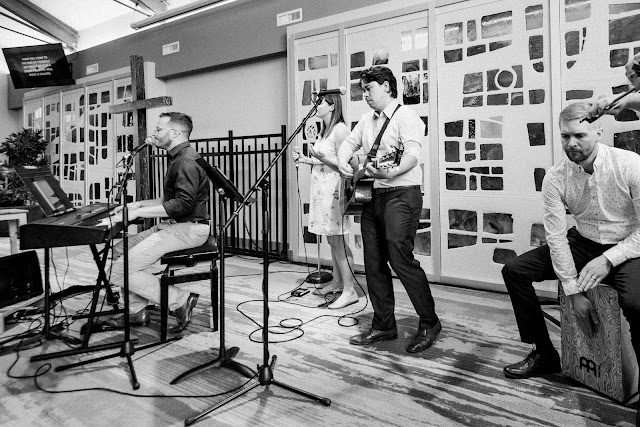


We started with worship with our favourite worship band, which is also our small group.  People we love a lot :)  Two of the songs we did are favourites of ours,  Build My Life, and Rescuer.  


We said our original vows, and then also wrote new vows to each other.  It was incredibly meaningful to both of us.  25 years into this, we know the challenges and joys of what it means to walk out love as a verb to each other.  Never easy, but we never do it alone, and we rely on the Lord’s help to live it out.  I know what love for my husband looks like far deeper now, than when we first started this journey together.  


Our dear friend Sharon, who served with us on staff at our Church until she retired, did our re-marrying.  


Our kids blessed us by sharing what our marriage has meant to them.  And we asked all our guests to commit to holding us to our vows and how we walk them out, and to pray over us.  It was deeply meaningful to us, and everything we had hoped for.  Simple, but full of significance and full of celebration.  

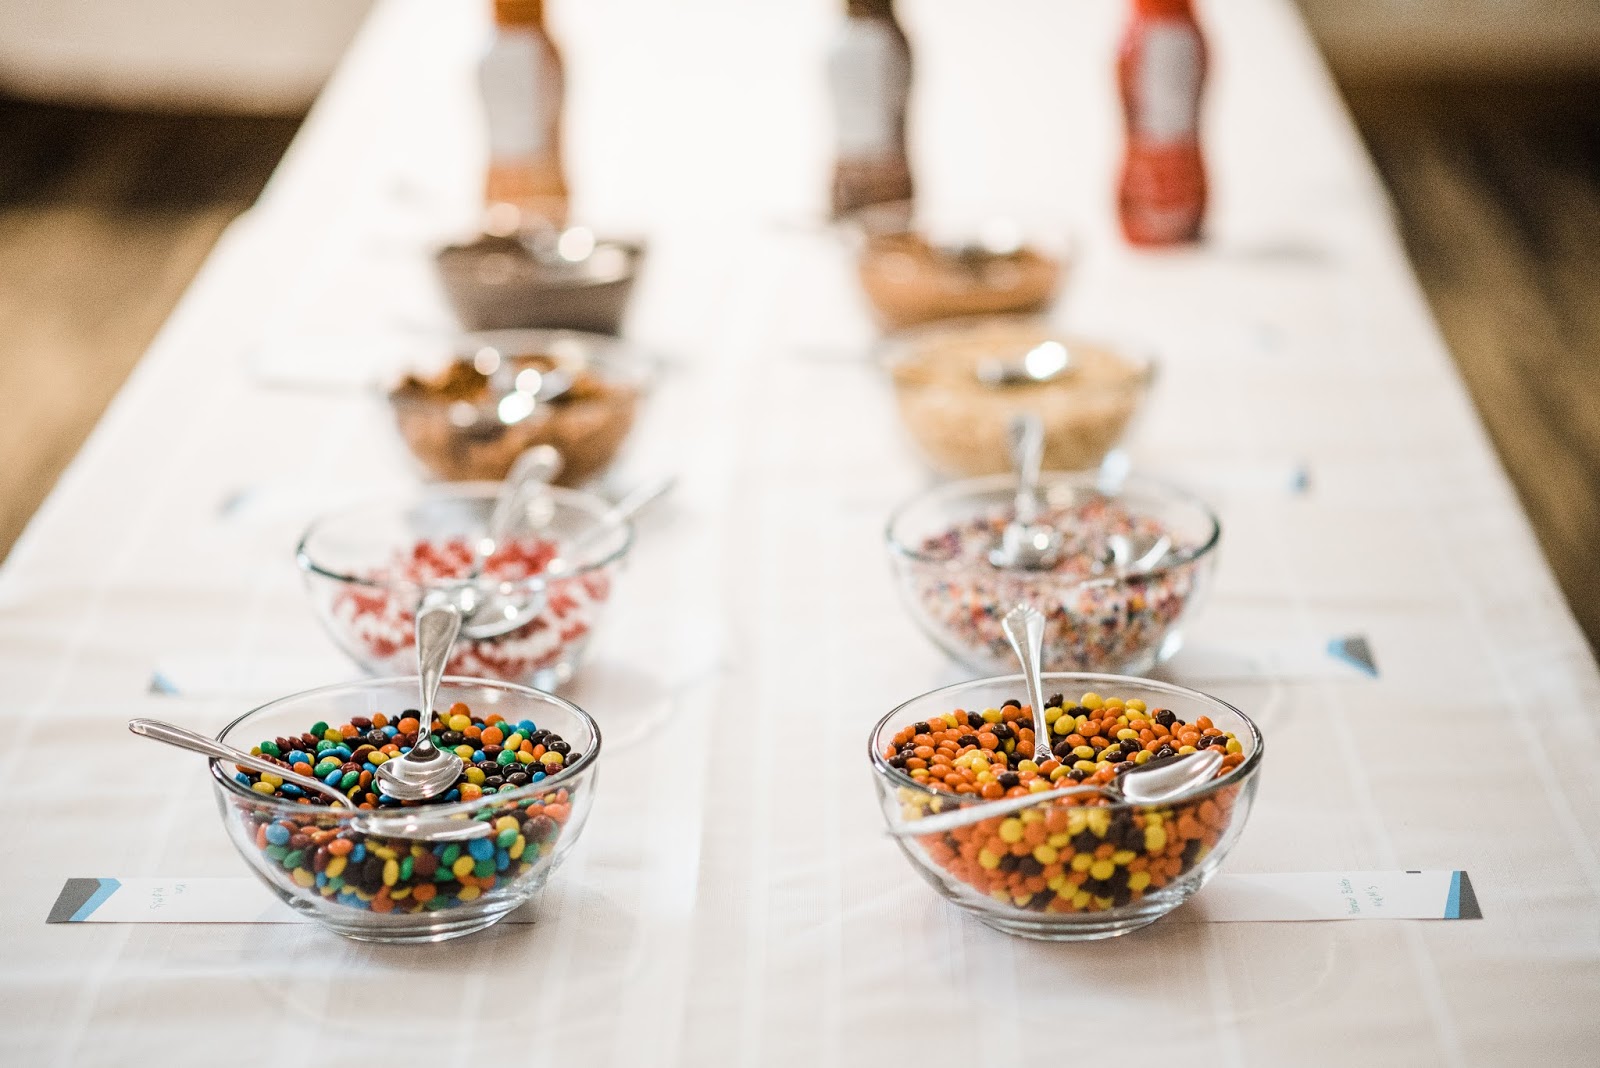
Afterward we celebrated with an ICE CREAM PARTY!  


LOTS of toppings!


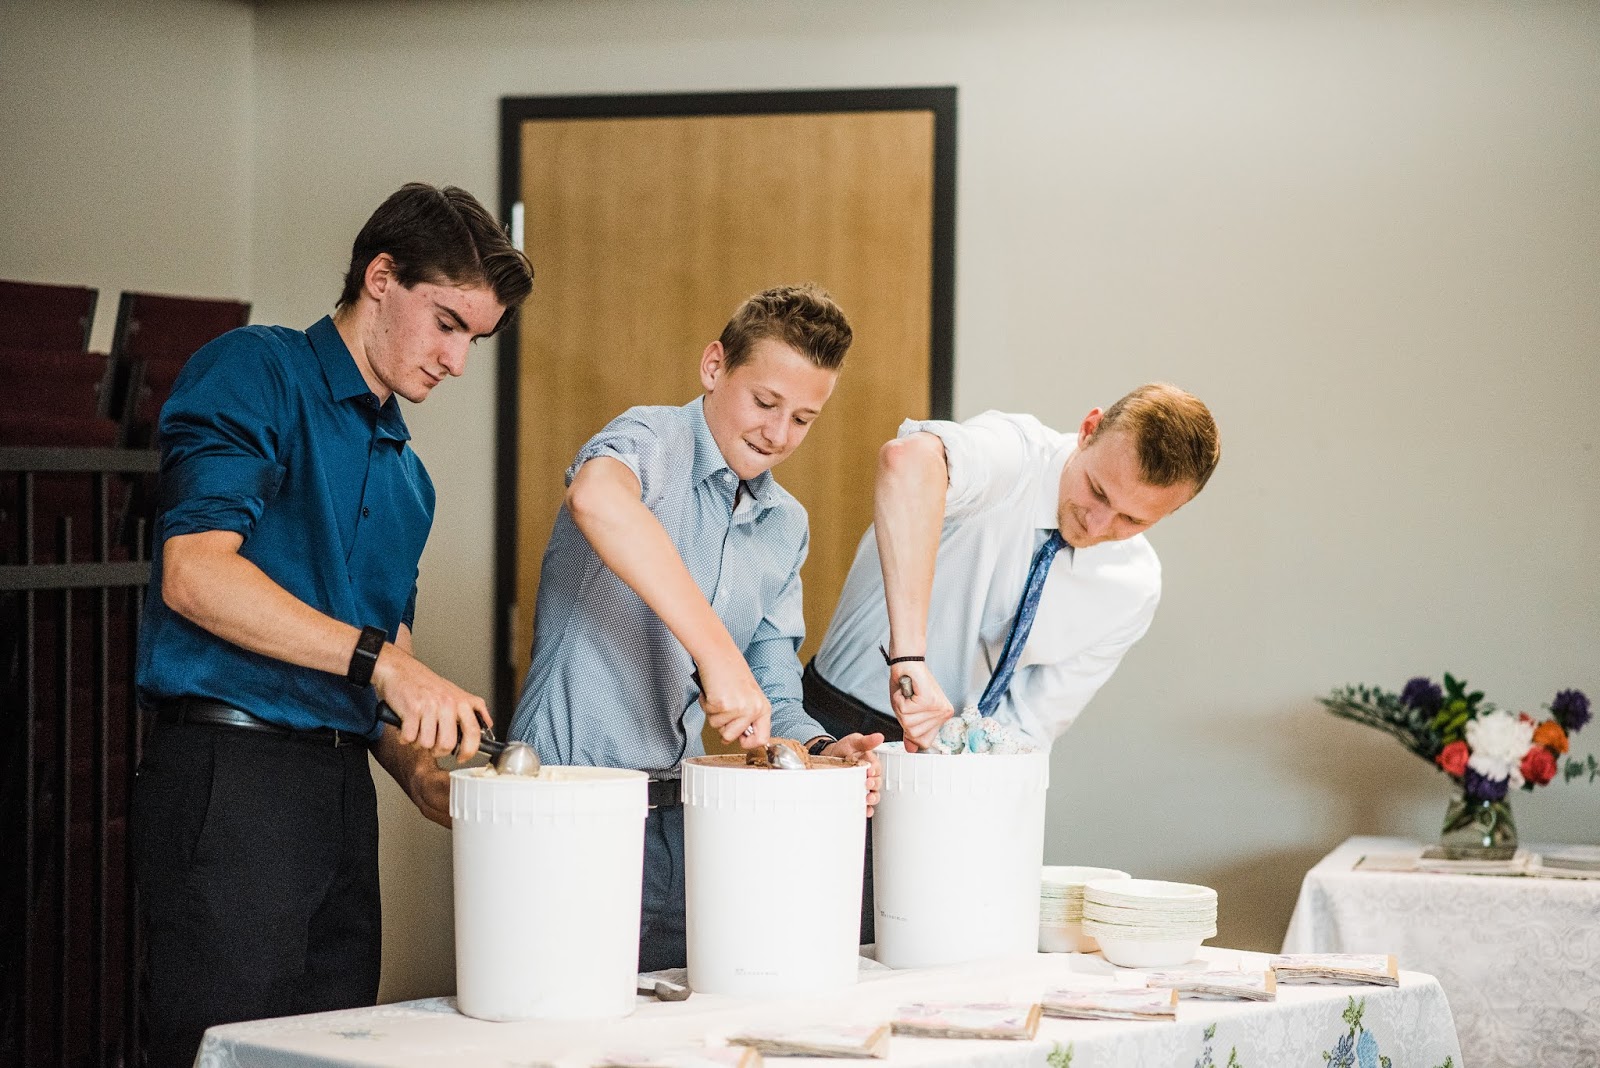
Our boys and our nephew did the disshing out.  They had fun.  Three varieties of ice cream, vanilla, Dutch chocolate and Birthday Party (which they re-named wedding party)!


A few shots of our family there.  


My side of the family with my parents, and my brother and sister in law and kids, and our three kids.   


And my husband’s brother who visited from the States for the occasion, sis-in-law and 5 of their kids.  


Joy, friends, family, faith, counting all our blessings together.  Thanks for sharing a little bit of it with us!  

Sunday, June 24, 2018

Summer Spectacular at The Cat’s Pajamas


It’s Sneaky Peek Week at The Cat’s Pajamas!  Hold onto your sun-hats friends!  I’ve got a ton of inspiration to beat the heat with this this month’s new releases at TCP!  It’s all about summer sun and fun, and every element is just so darn cute!  And, you could WIN just by commenting on today’s post, more on that at the end...


We’ll kick it all off with the adorable Penguin Summer set.  This one is a FUN one with all the cool things the penguins are up to!  I began with this dude chillin’ out on his floaty with some fun tropical swim trunks.  

I started with 3 different shades of teal blue and the TCP Beaches Cut Ups Die from the store.  This way I could make layers of water with the rippled edge of waves for our penguin to lounge on.  I stamped some of the starfish into the layers and the sentiment.  He’s coloured up with Copics and popped up on the layers.  


Just a couple of sequins finish the card.  Do you notice I gave him a little sunburn on his tummy?  Not enough sunscreen!  

Next up another sassy card with images from Penguin Summer.  


One of the images in the set is this cute penguin with his flappers raised, as well as a beach umbrella.  I thought it would be fun for our penguin to do some dancing with the beach umbrella, which I coloured in secondary colours.  So I tucked him behind the umbrella, trimmed his flippers to be able to have him hold the umbrella in front of him while peeking out, and then had him holding the umbrella above his head.  He’s having a good time!


The perfect sentiment for my little scene “Done Adulting”, is included in the set and I embossed it over some rows of designer paper, adding in an wood veneer arrow that I coloured black to point to the sentiment and give the card some movement.  


Next up is a beauty of a alphabet die new to the store!  It’s called Big Little Alphabet and it’s a steal at $19 for the whole set A - Z.  

I mentioned the other day that I’ve been taking watercolour course.  One of our assignements was to work on repeated images to practise our washes and water to pigment ratio.  I freehanded a pear shape and made a quick template to trace on the watercolour paper and then watercoloured my pears.  

Next, I watercolour washed another stretch of watercolour paper and let that dry before using the die-cut letters for the sentiment.  I stamped the words “A Great” from TCP’s set Aye, Eye, I to make it all work.  


I think it would make a nice anniversary or wedding card, or even a friendship card.  

Next, I got a little creative with the alpha dies and another of our dies being released this month, the Sweets Cut Ups Die and the Magarita CutUps Die.  


Hopefully you see Minnie the Mouse!  When I was playing around with the Ice Cream/Cupcake Top of the die set, I looked at it upside-down and saw Mickey or Minnie Mouse.  So I cut the shape in black, then I took the lime half-circle shape from the Margarita die, cut that from polka-dot paper, then cut it in half to form two triangle pie shapes, and added the cherry die shape as the center of the hair-bow.  Super clean and simple too with the red background and the letters.  

Card number 5 of 6 showcases some cool summer drinks, and it’s called Liquid Therapy.  

This card is another one of my watercolouring practise pieces, where we were working on brush techniques.  I created the background with a flat brush and varied the colours and strength of the colour wash in each section.  It makes a fun background for that tropical drink!  I stamped the swirly center of the glass in two different Distress Oxide Inks and embossed in clear ink, I think it makes it look like a slushy.  Then I stamped the outside of the glass and added the beach umbrella (using the stamps and dies) and the lime.  A vellum circle panel seperates the layers so you see the glass and sentiment better.  


I also embossed the sentiment using Distress Oxide and clear EP.  Very refreshing for summer!  

Alright, as you can see I couldn’t help myself this release is so fun, I have a 6th card using Penguin Summer!  


How can you not love a penguin in a flamingo floaty?  This is a interactive card because I made use of another new die set in the TCP store called Going Round and Round.  It’s great because it comes with severals circle dies/frames and two different inner tracks so you can let your image roll.  My penguin is floating back and forth in the track and it’s so cute!


I added the sentiment from the set embossed on black, some scalloped black borders, and a bit of twine for accent.  


Here are all the awesome NEW TCP items I used on my cards today, and they’re all being released tomorrow!  Three great stamps sets, four fun dies and one of the sets Need Glasses is free with a qualifying purchase. 


Now, here’s the fun news....  You could win a $10 gift voucher just by leaving a comment on my blog! Alma will pick a winner each day and post on the TCP Blog and on our TCP Facebook page

Don’t forget to come back tomorrow for our Blog Hop to kick off the release!


Friday, March 23, 2018

50th Wedding Anniversary


Last night my parent’s celebrated their 50th Wedding Anniversary.  That’s really a huge accomplishment isn’t it?  50 is called the Golden Anniversary, so when I was creating a card I knew I wanted to incorporate a lot of gold in it while still celebrating some colour.  

I started by stamping Power Poppy’s dreamy set, Dream Wedding with VersaMark onto watercolor paper, embossing it in gold.  I watercoloured the design in some soft pastels with the pop of red on the cherries and a deep green on some of the leaves and the cake platter.  

For the background layer, I used a Tim Holtz stencil on a creamy cardstock, with embossing paste, then adding gold embossing powder overtop.  The key to making the embossing powder work is to let the embossing paste dry before heat setting.  If you don’t wait, the gold embossing paste will bubble up too much.  


A few pretty sequins, some gold sparkly washi tape finish it off.  

Pop on over to see what Marcy and the rest of the team have to show off for you today...


Friday, May 8, 2015

Red Camellias


Hello Friday friends.  Today I’m playing with the Power & Spark Challenge at Power Poppy to “Cut It Out!”  I took out my handy dandy detail scissors and played with this weeks’ Mojo Monday Sketch and here’s the result!


It’s a lovely rich red camellia bloom from our Simply Camellias set.  Reds are not easy to work with at times with Copics, getting your highlights and depths can be tricky, so I really took my time wiht this one and I love how it turned out.   

After colouring and trimming out the flower, I also embossed the larger camellia blooms onto this designer paper (Words of Love - Carta Bella), and then embossed the bottom of the card with an embossing folder.  


Because the embossing has pretty shine in it I added that sparkly black ribbon and some enamel dots to accent the design.  Then just a touch of washi tape and more patterned paper from the pack.   Sorry this photo above is a bit over exposed.  You can’t see the embossing on the bottom of the paper...something is really up with my camera that I’m going to have to do some investigating on!  


Here’s the Copics I used to bring the lovely flower to life!  

Here’s the gang playing along today..


Christine Okken (you are here)

Thanks for stopping by!  I hope you can join us in the Cut It Out Challenge for your chance to win Power Poppy goodies!!